Member Sites & Course Sections
If you’re selling a course or membership, Squarespace allows you to add a paywall to your content. This means visitors must purchase or enroll before being able to accessing your content.
What Is a Pricing Plan?
Your pricing plan determines how your customers will pay for your course. You can use pricing plans to:
Charge a one-time fee
Offer multiple payment options
Create subscriptions
Offer free access
Set enrollment start and end dates
How to Add a Pricing Plan:
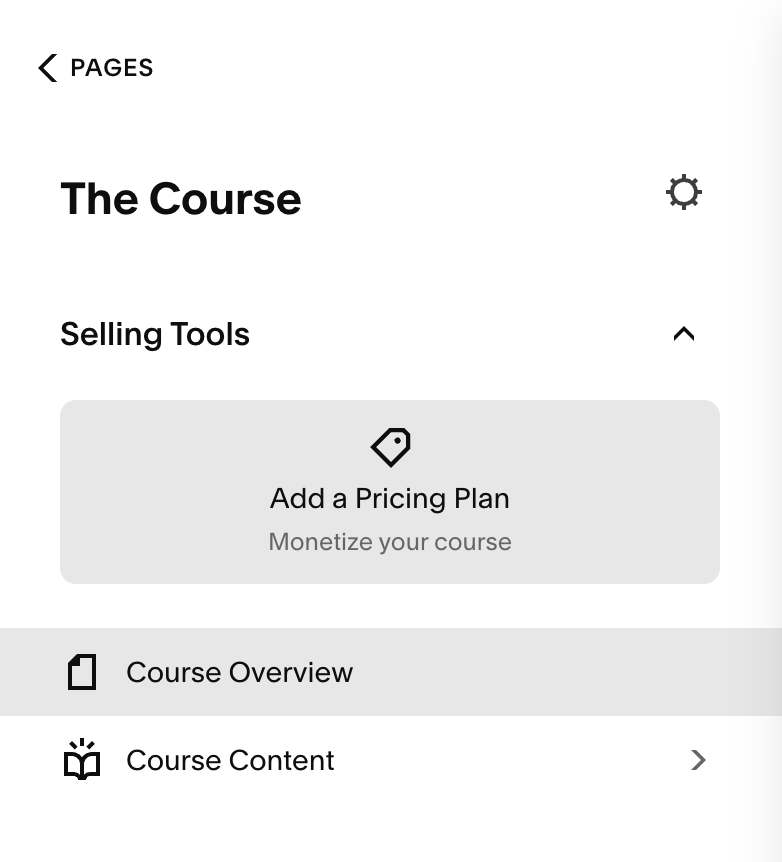
Go to your Course page in Squarespace (the book icon in your paged panel)
Under Selling Tools, select Add a Pricing Plan
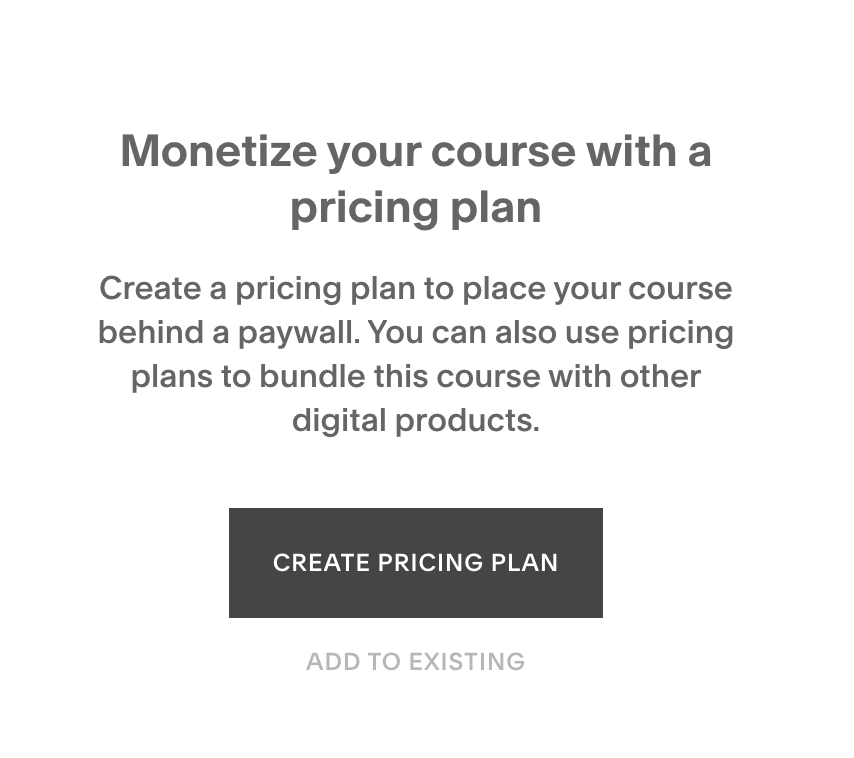
Select Create Pricing Plan.
→
Set Up Your Pricing Details:
When creating your pricing plan, you’ll see four sidebar options: details, pricing, products, sign-up limits. Let’s go over what each of these options gives you control over:
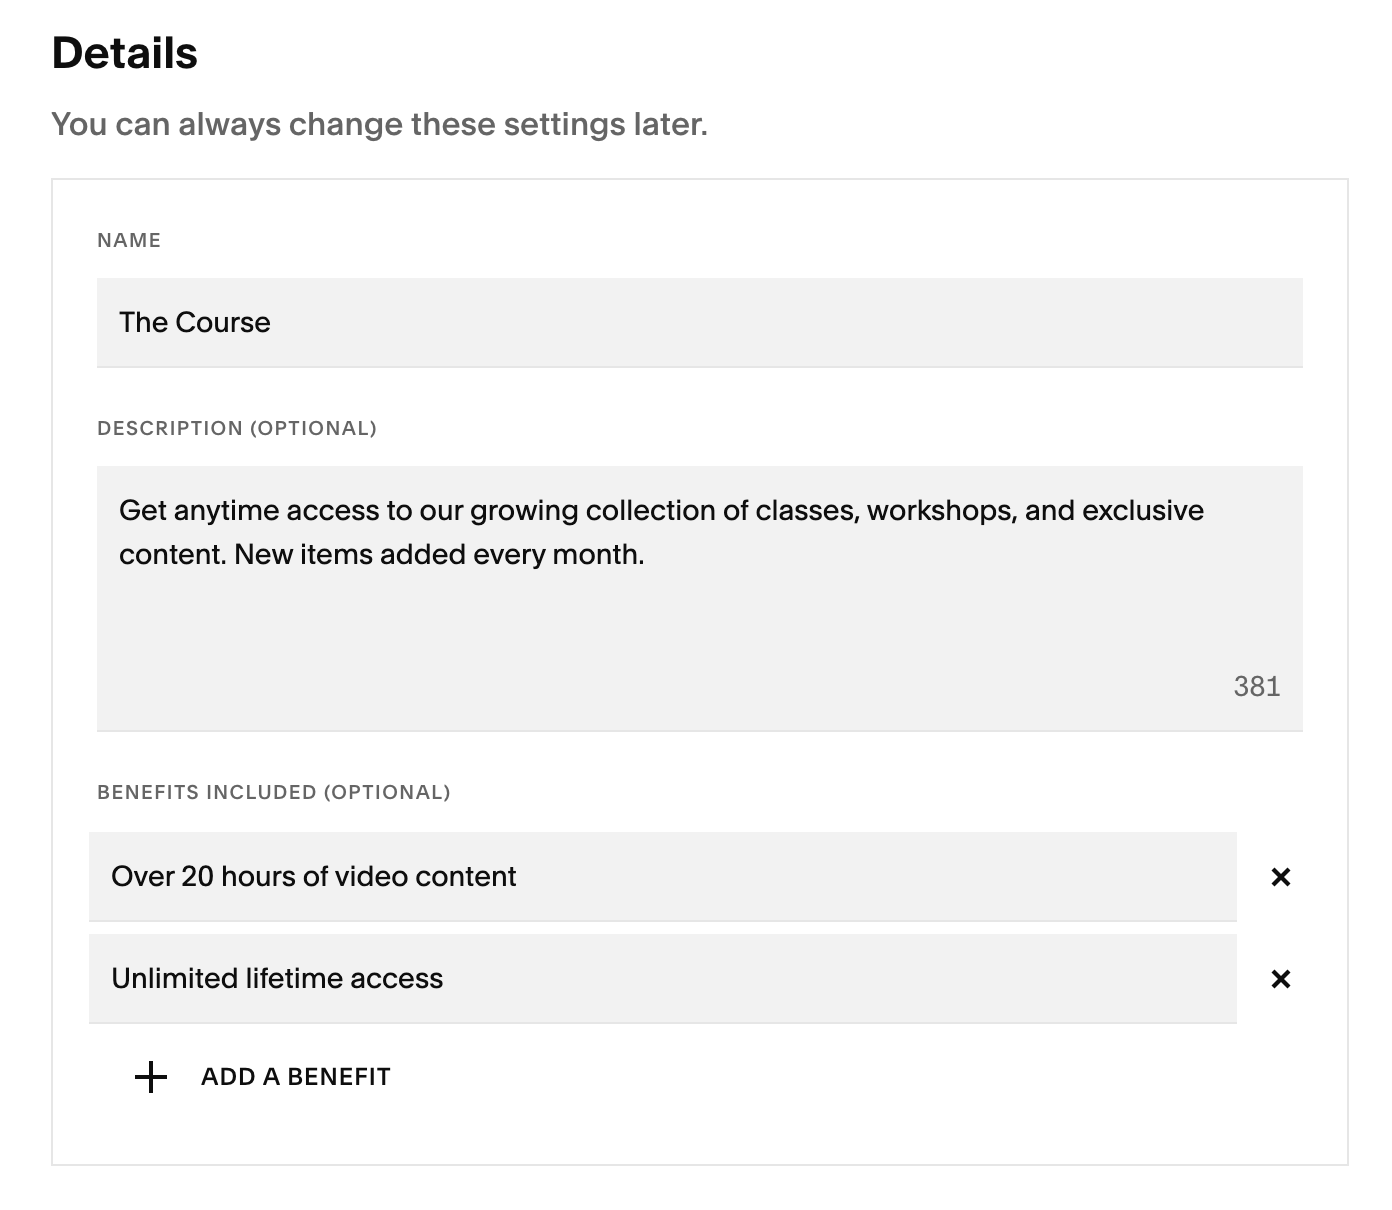
Details:The details section of your pricing plan is where you can edit:
The name of your course
The description
The benefits (you can add up to 5 benefit section)
Pricing:You can choose from several pricing structures:
Fixed Amount: A one-time payment (example: $15)
Multiple Payments: Break the price into smaller payments (example: 3 payments of $5)
Subscription: Ongoing recurring payments
Free Access: No payment required
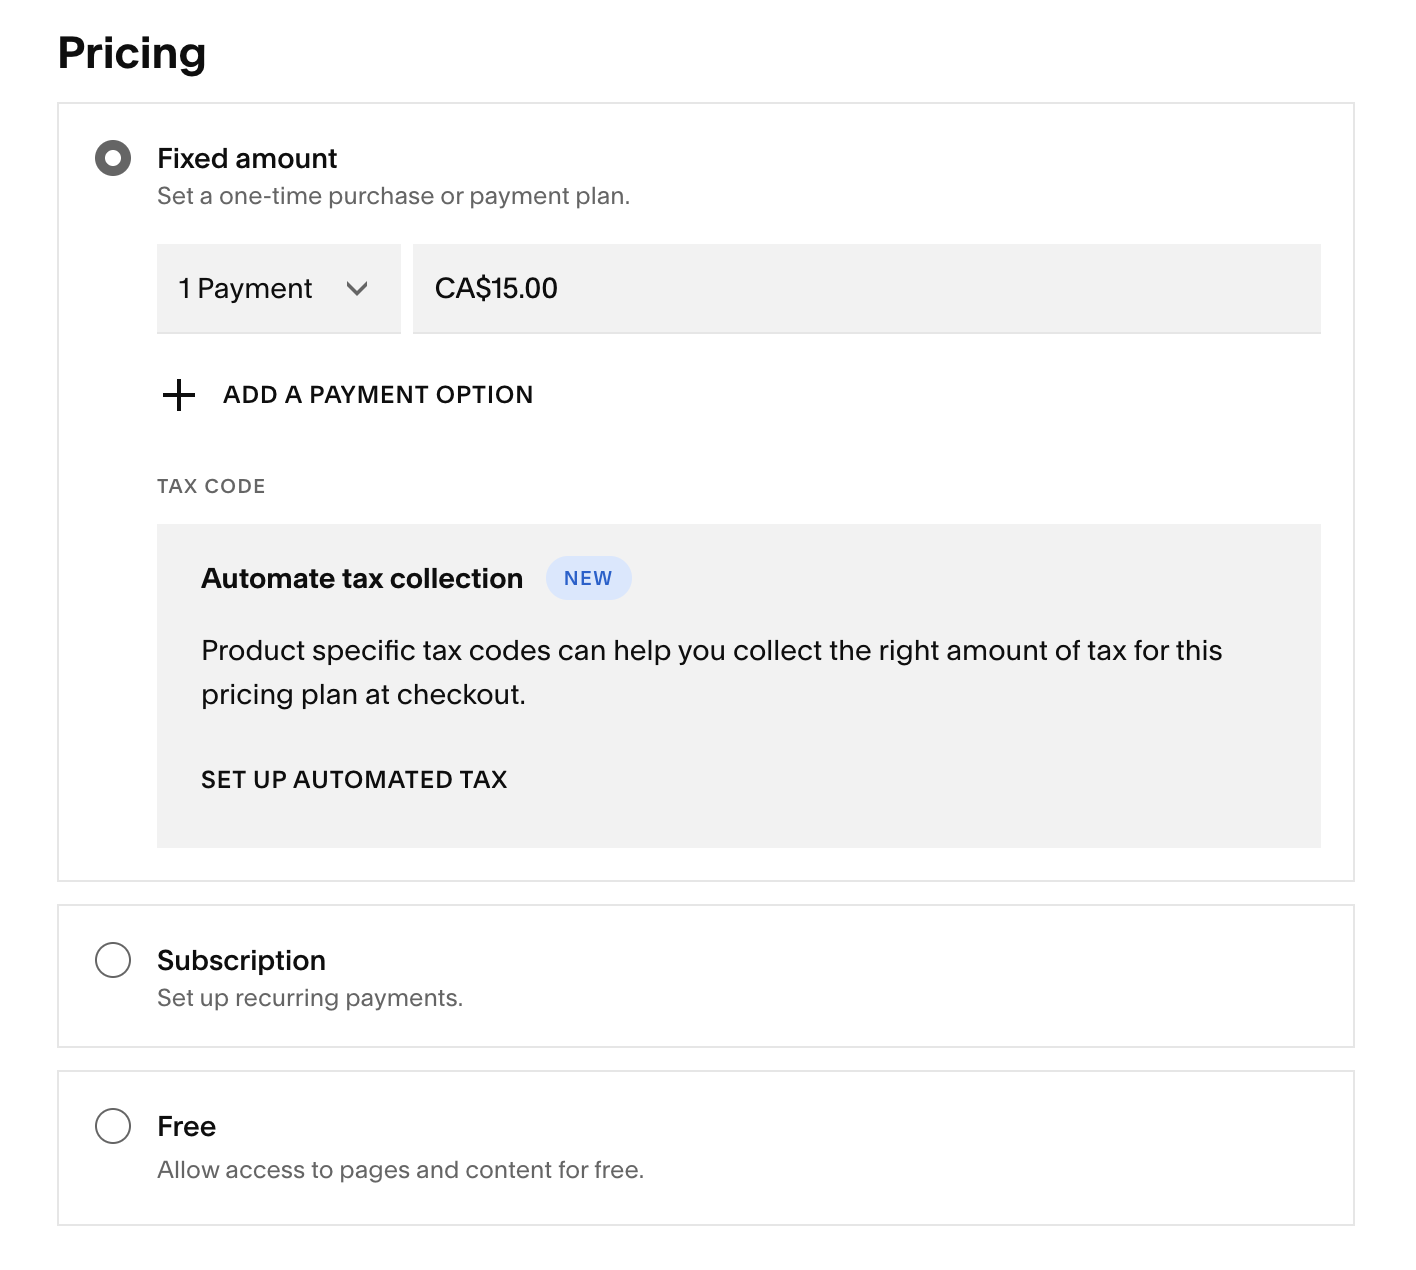
Setting up tax collection:Squarespace now allows you to Automate Tax Collection which calculates the tax your customer is charged automatically based on where you customer is located. You can also choose to set up your tax rates manually based on your preference but I always recommend speaking to a tax specialist to make sure you’re calculating everything correctly!
You can find guides on setting up Automated and Manual tax collection in Squarespace below:
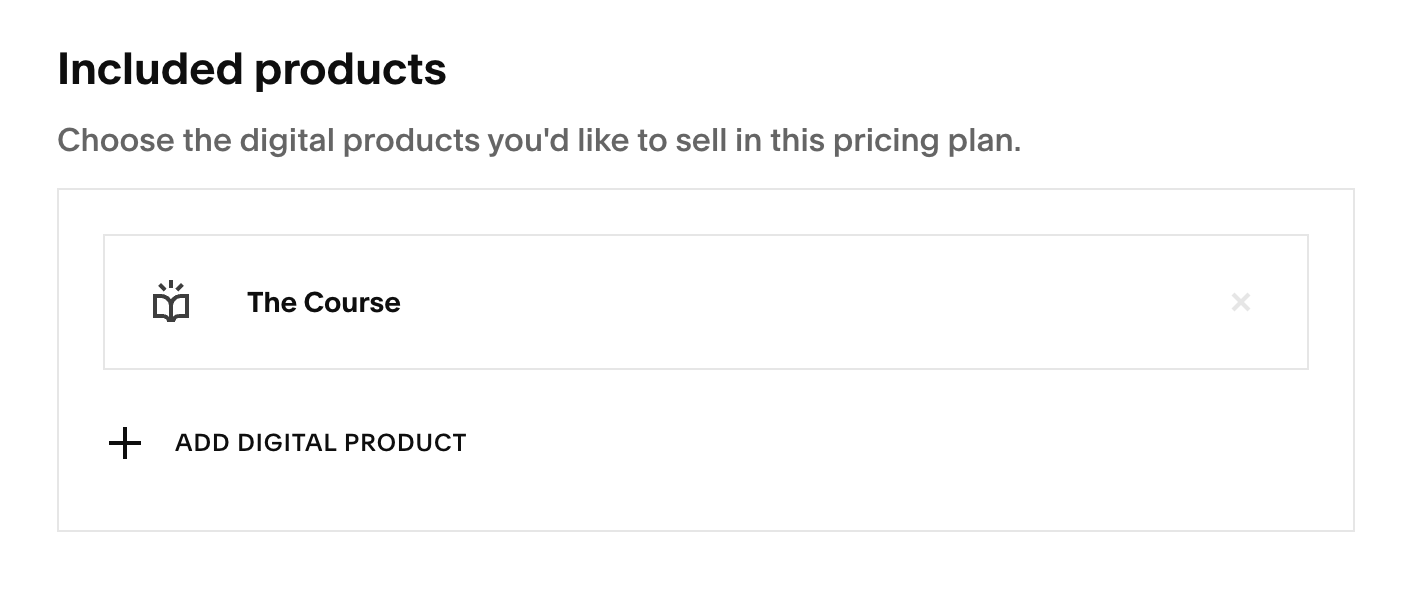
Included Products:You can add the Digital Products you’d like to include under your pricing plan. This is a great option if you’re selling a course or product bundle and want your customer to have access to multiple digital products with their purchase.
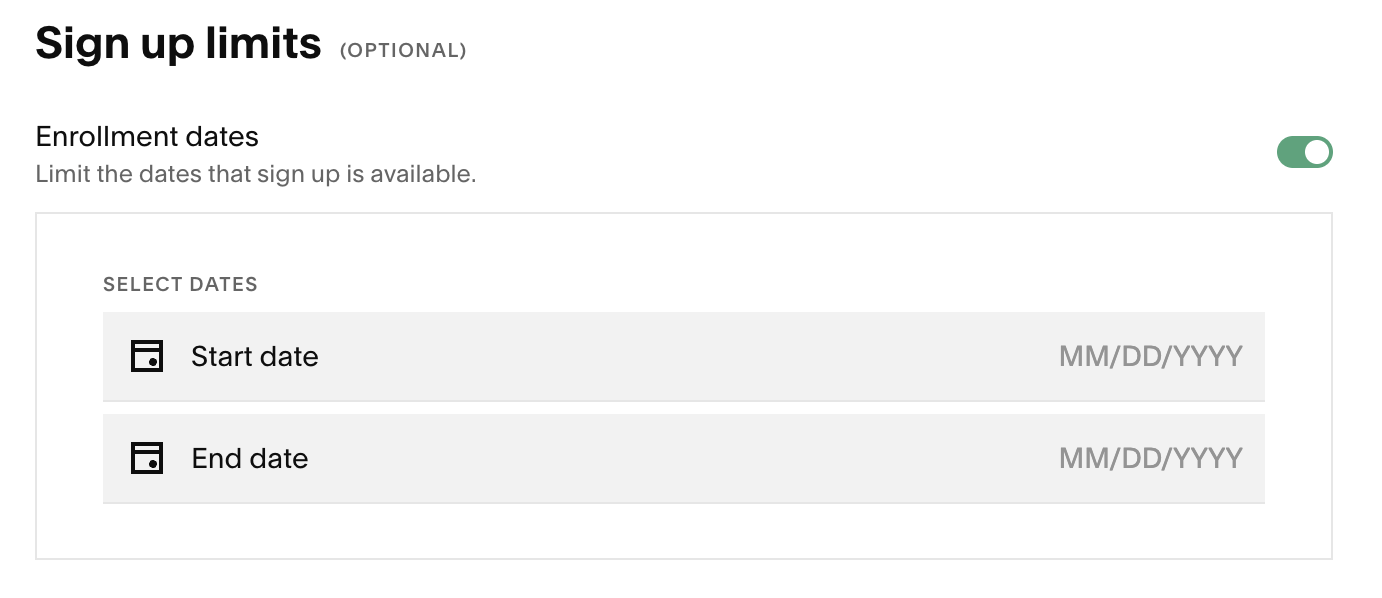
Sign up limits:If you’d like a set a specific time frame that your course is available for sign-up, you can set enrollement start and end dates.
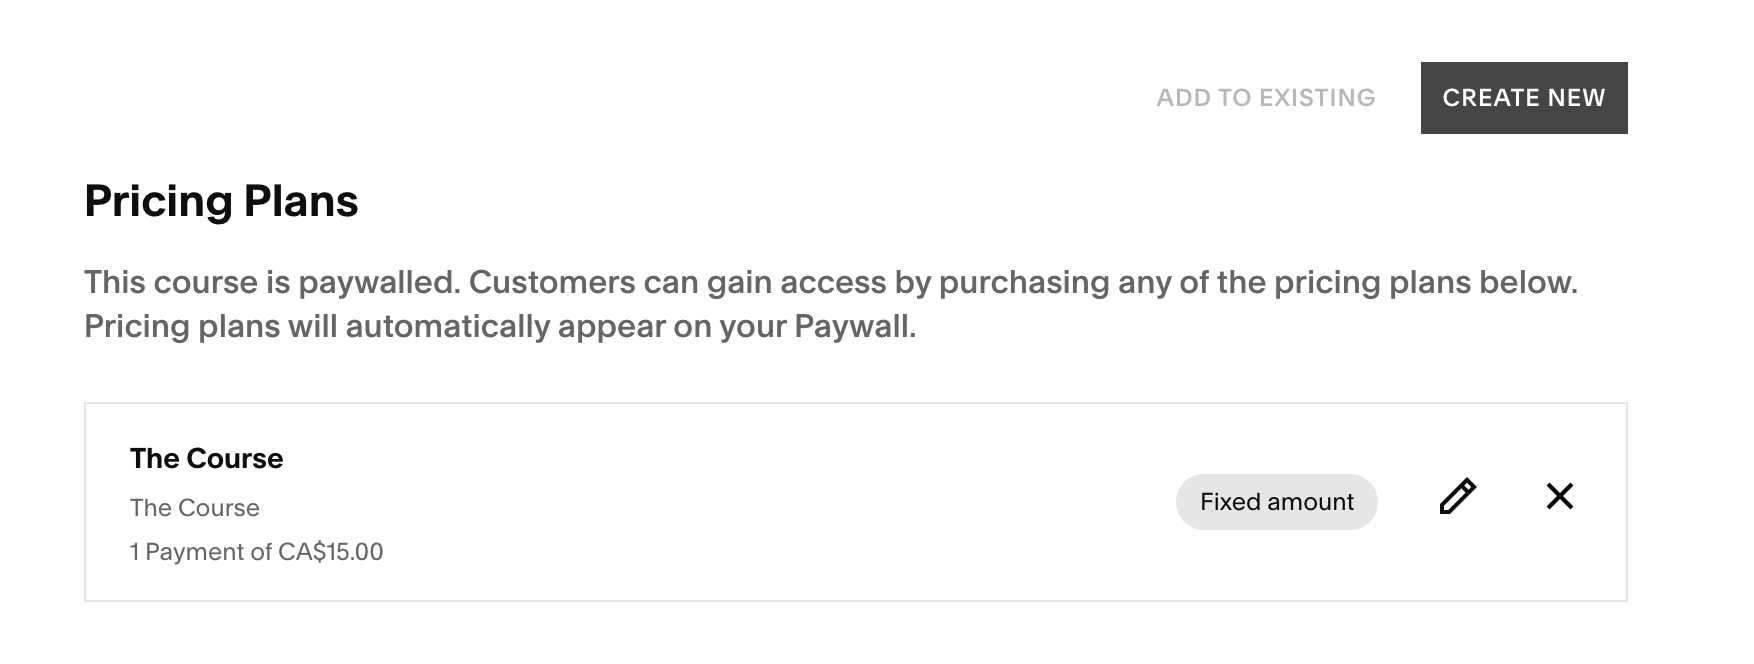
Create Additional Pricing Options (Optional):
If you want to offer multiple payment options (for example, pay in full or pay in installments):
Click Create New Pricing Plan.
Name the plan clearly (example: Course Name – 3 Payments).
Set the number of payments and the amount.
Keep the remaining settings the same.
Click Create.