Blogging
Blogging on Squarespace lets you share stories, ideas, and updates with your audience in a professional, branded way. In this guide you’ll learn how to create and manage your blog, from setting it up to publishing posts and organizing content.
Adding a Blog Page:
Your Squarespace template will already have a blog page built into it, but you can add multiple blog pages to Squarespace. If, for any reason you’d like to add another blog page simply:
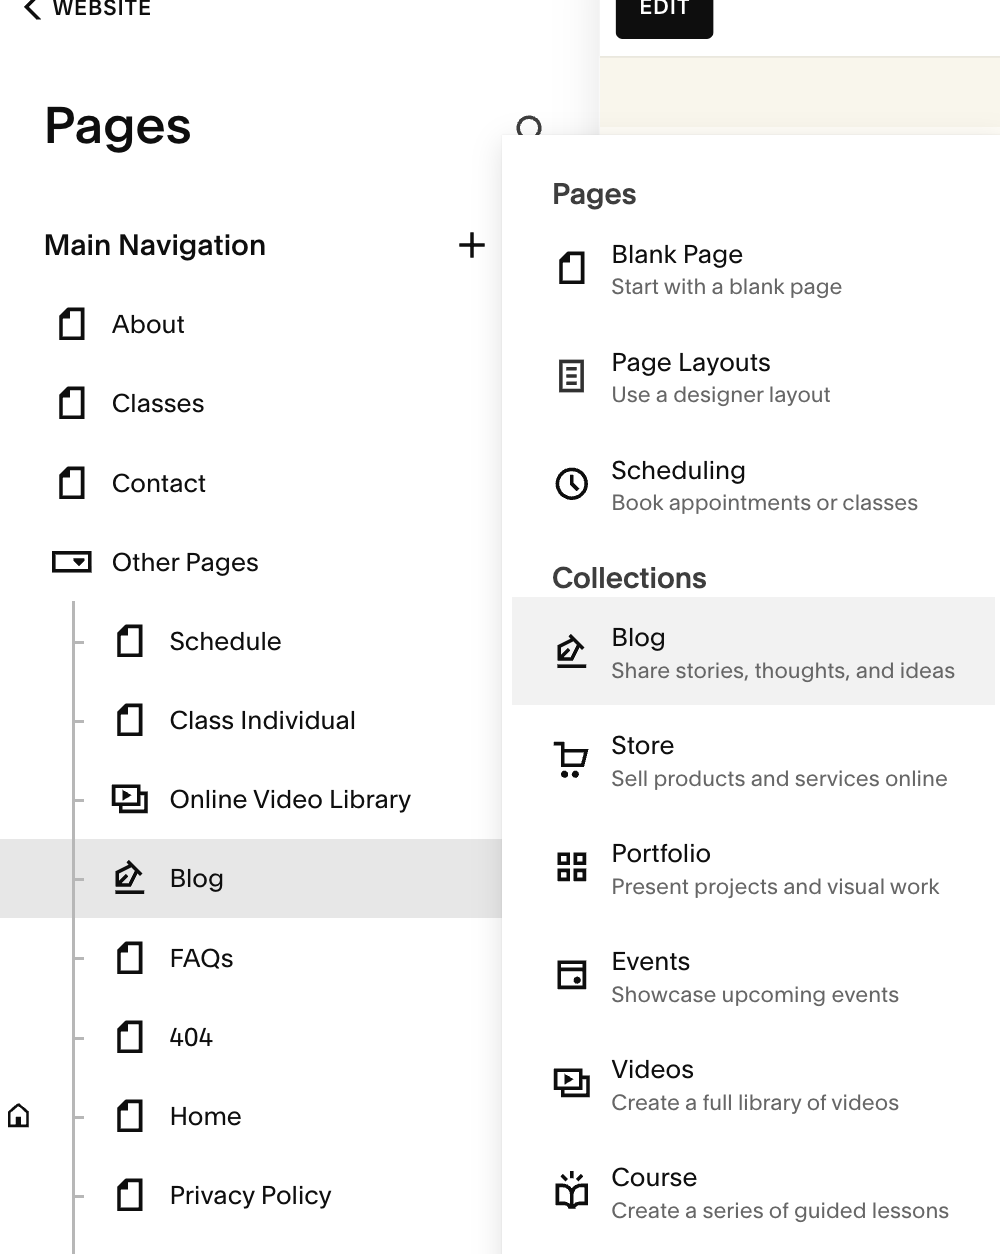
Go to the Pages panel, click the + icon and select Blog to create a blog page.
Choose where to place this page in your navigation (e.g., main menu, or hidden/Not Linked section).
Creating a New Blog Post:
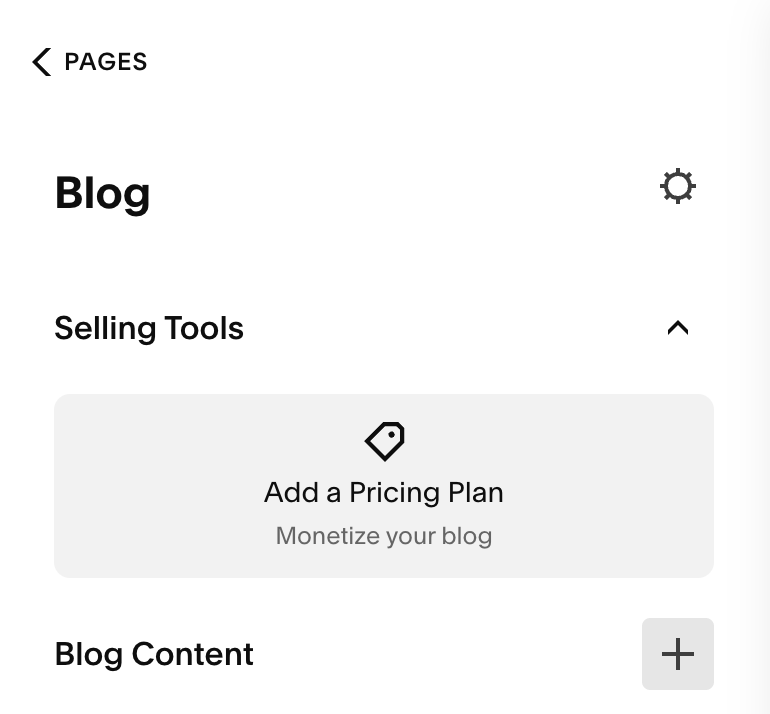
Open the Pages panel, click the blog page, then click + in the side panel.
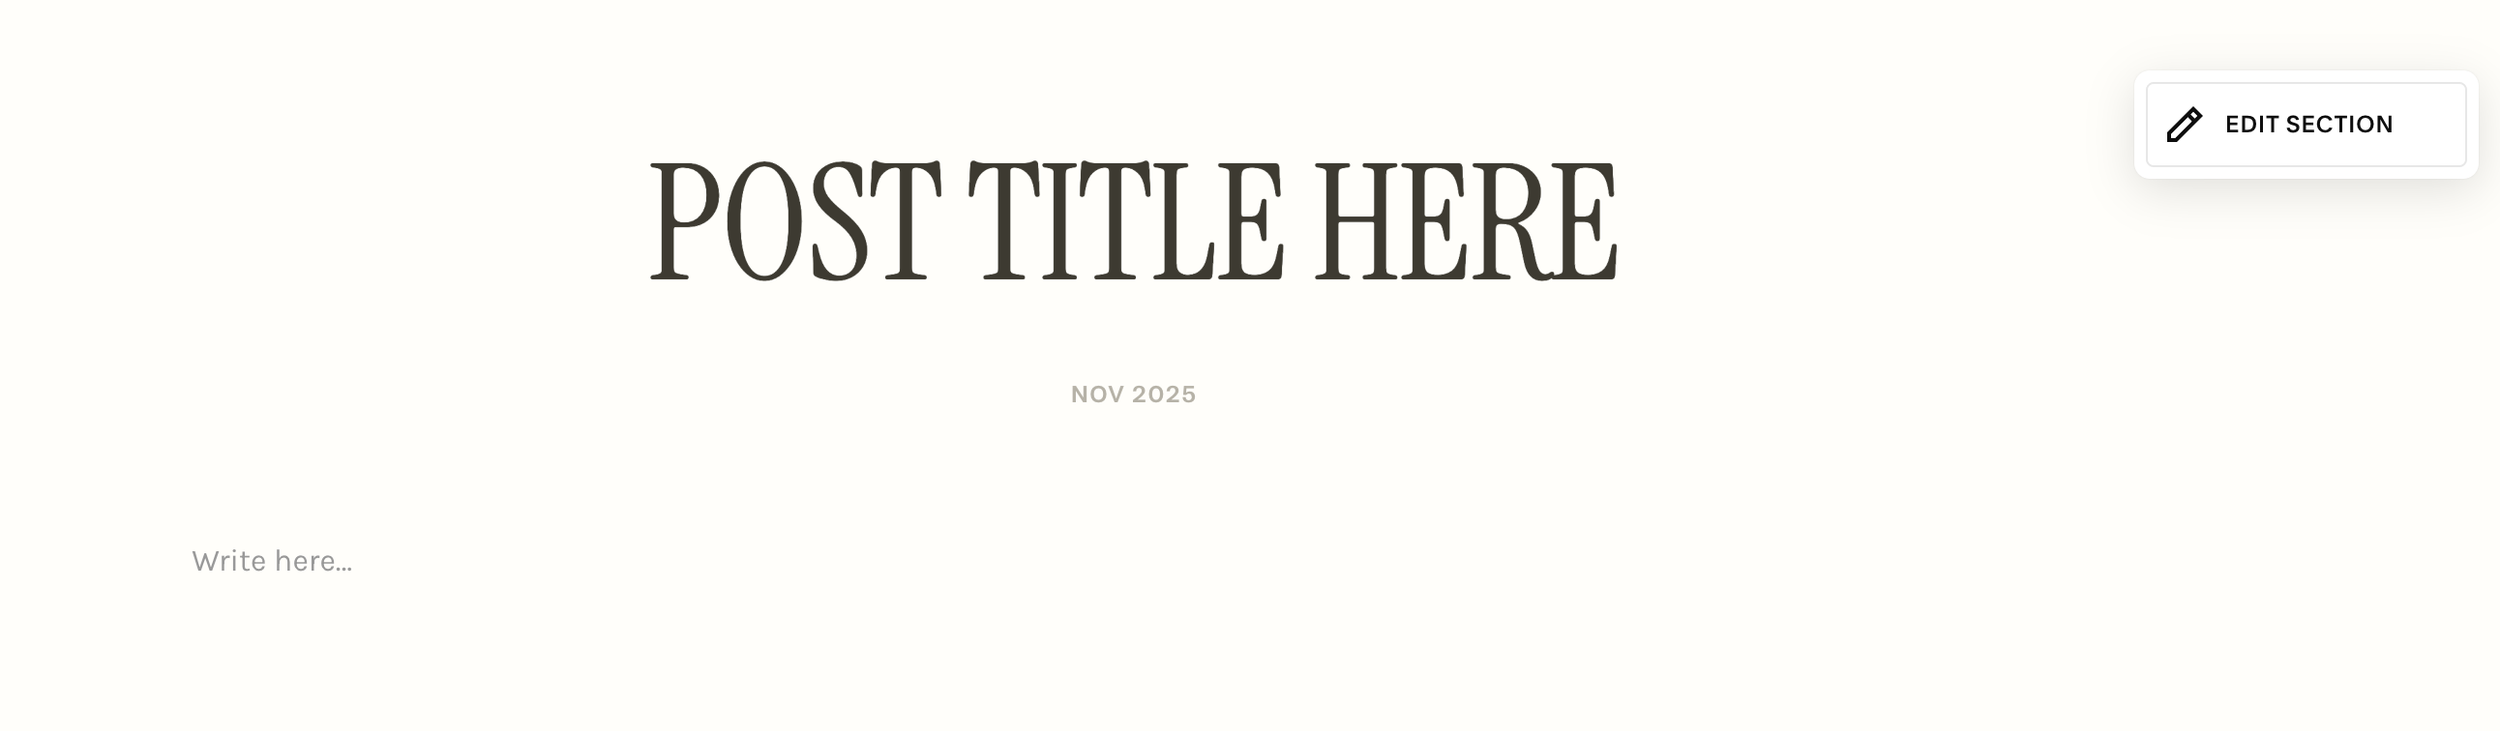
Add a title for your post in the Enter a post title... field. Titles must be 200 characters or fewer.
Your new post includes a text block to help you get started. To add more blocks to the post, click an insert point.
After adding content to your post, you can open your post's settings and edit settings, including categories and tags, comments settings, and featured images.
Editing a Blog Post:
It is important to note that each post uses the classic editor (not the newer Fluid Engine). That means you’ll build your post layout by inserting blocks and arranging them manually by stacking them rather than dragging freely on a grid.
1. Add content blocksOpen the blog post → click Edit.
Use insert points (the blue + icons) above or below existing blocks to add new blocks like Text, Image, Spacer, Button, etc.
After adding, click the block to edit its content.
2. Use spacer & line blocks for layoutTo create space between sections (for example between an image and a paragraph), add a Spacer Block
Spacer blocks help you avoid blocks merging visually and give your post breathing room—even though layout control is less flexible than Fluid Engine.
You might stack a Spacer then a Text Block then an Image Block to set the visual flow manually.
3. Place content in rows and columnsThe classic editor uses an invisible grid (similar to the 7.1 grid!). When you drag a block, guides appear to show placement.
To create side-by-side content (e.g., image next to text): drag one block beside another until you see a vertical placement guide.
To stack blocks: drag them above or below until a horizontal guide shows.
Because the layout isn’t as fluid as 7.1’s grid, you may need to adjust spacing, use spacer blocks, or combine blocks carefully to get the look you want.
4. Align and size blocks:While placed, many blocks allow width control: you can stretch them or set them to full width, depending on the template.
Use the block’s toolbar or settings to adjust alignment (left, center, right) where available.
Always check how the content looks on mobile (classic editor layouts will flow into one column on small screens, so avoid too-wide rows or extremely narrow columns.)
5. Preview and adjust:While editing, use the preview mode to see how your post will look when published.
Pay special attention to spacing: if two text blocks feel merged, insert a spacer or line block between them.
Think visually: if the header image feels too big for the text that follows, reduce its width or use a spacer block to separate it.
Blog Post Editor:

Blog Post Settings:
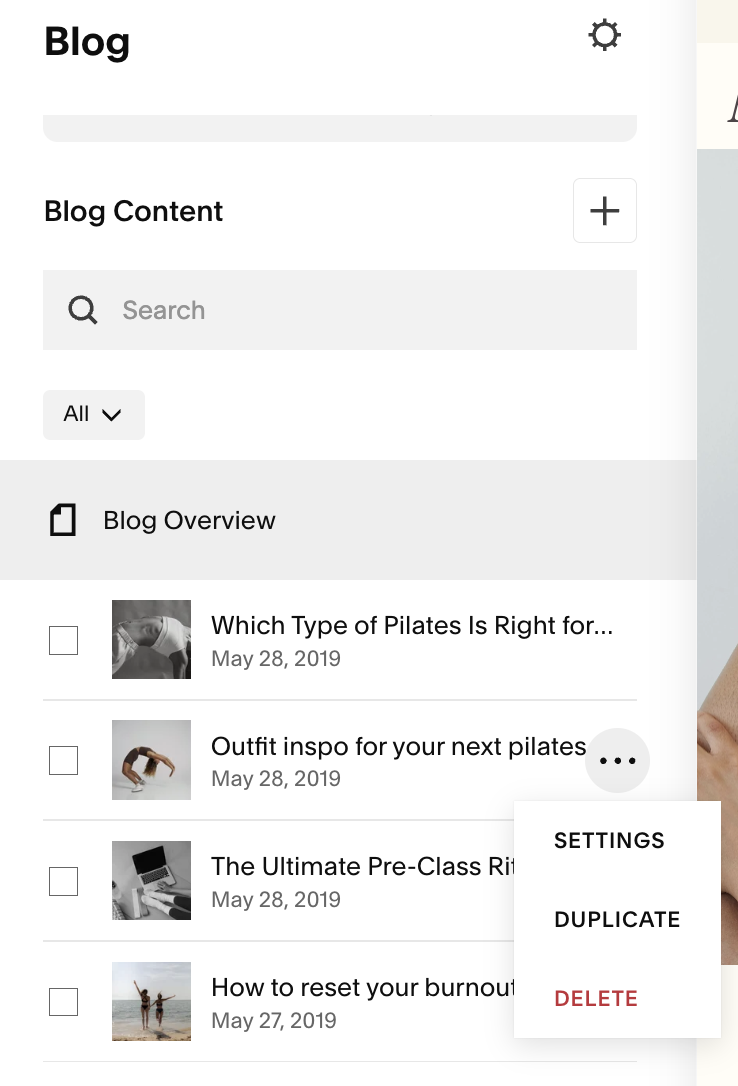
To access the settings for an individual blog post, hover over the post and click the three dots (…)
Choose settings from the dropdown menu

Your settings will appear in a pop-up window on your screen:
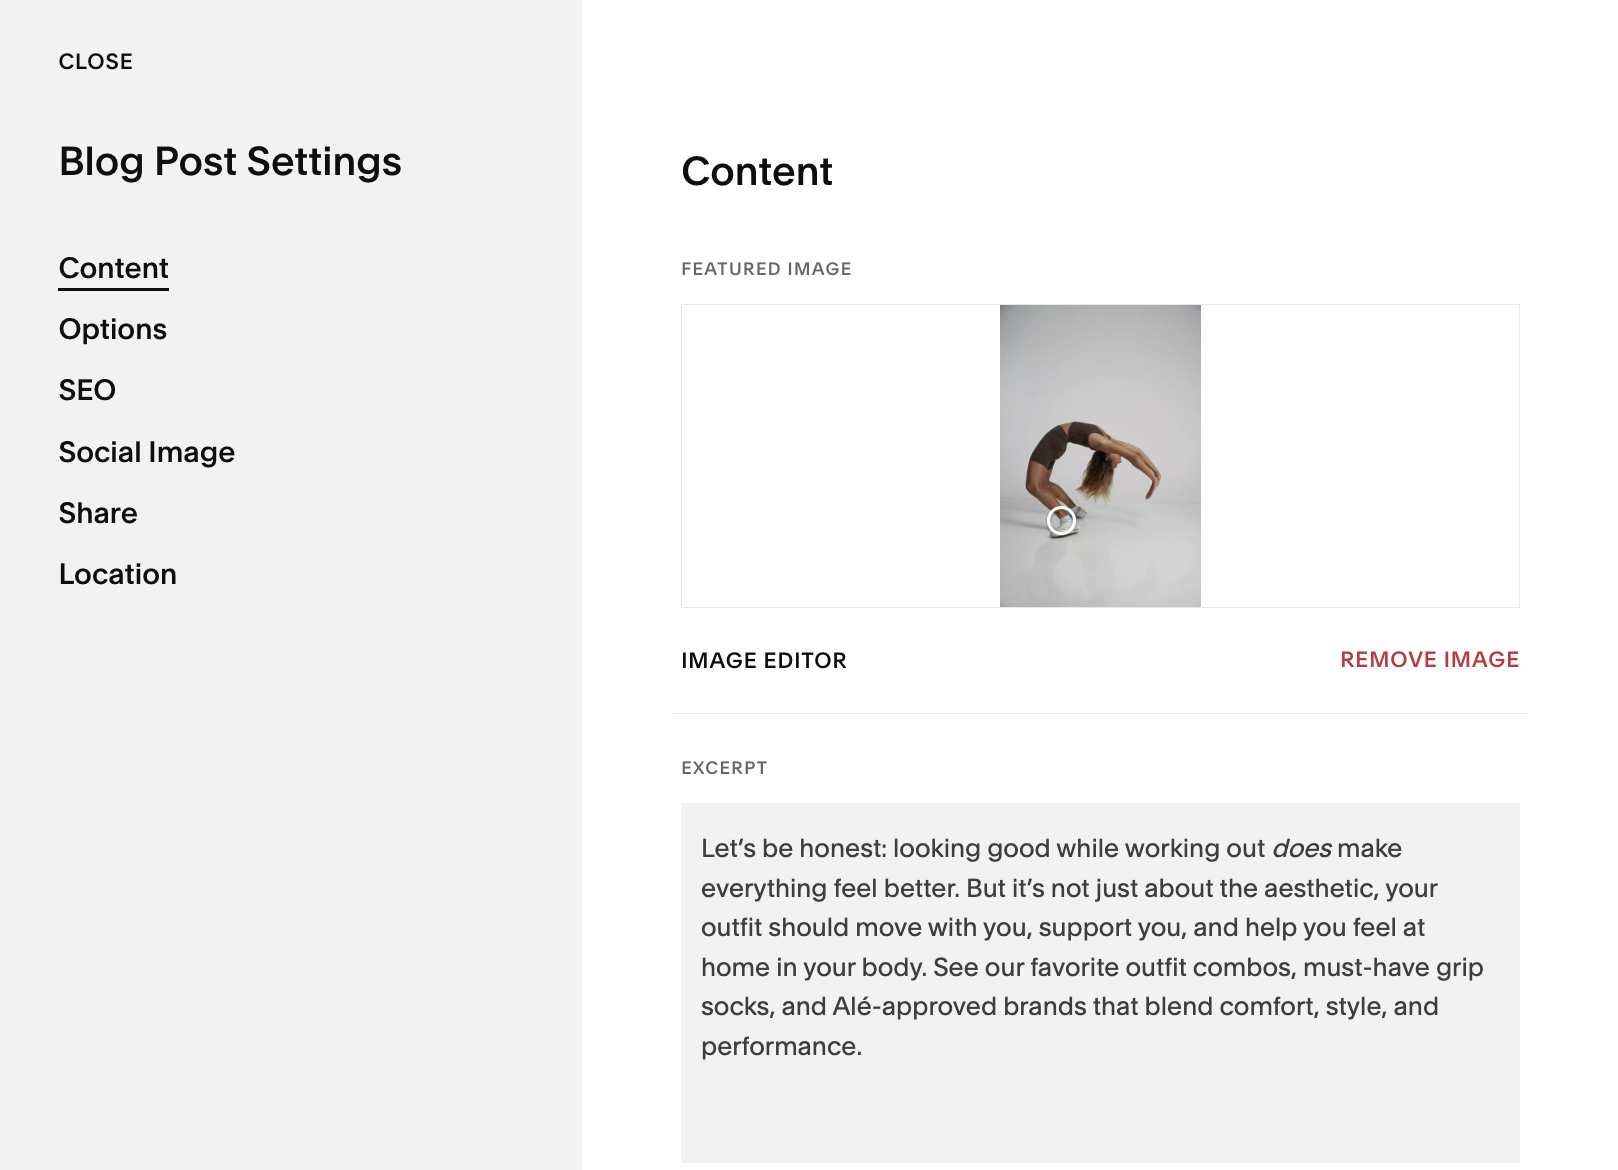
From here you can access the following settings:
Content:Featured image - Add a featured image
Excerpt - Add an excerpt to give readers a sense of the full post
Post URL - Edit the post's URL slug
Author - Set the post's author
Source URL - Add and link to a source URL
Options:Status - Set the post's publication status
Tags - Add tags to the post to organize your post based on its content
Categories - Add categories to organize your post based on its content
Comments - Enable or disable comments or go to advanced comment settings
Featured post - Set it as a featured post
SEO:SEO title - Add an SEO title to help search engines
SEO description - Add an SEO description to help search engines
Social image:Add an Alternate social sharing image to display when the post is shared on social media
Share:Create email draft - Send your post as an email campaign
Social media - Automatically share your post to your social media profiles when you publish. You need to have connected accounts to share content this way
Location:In the Address fields, add a location to correspond to the blog post
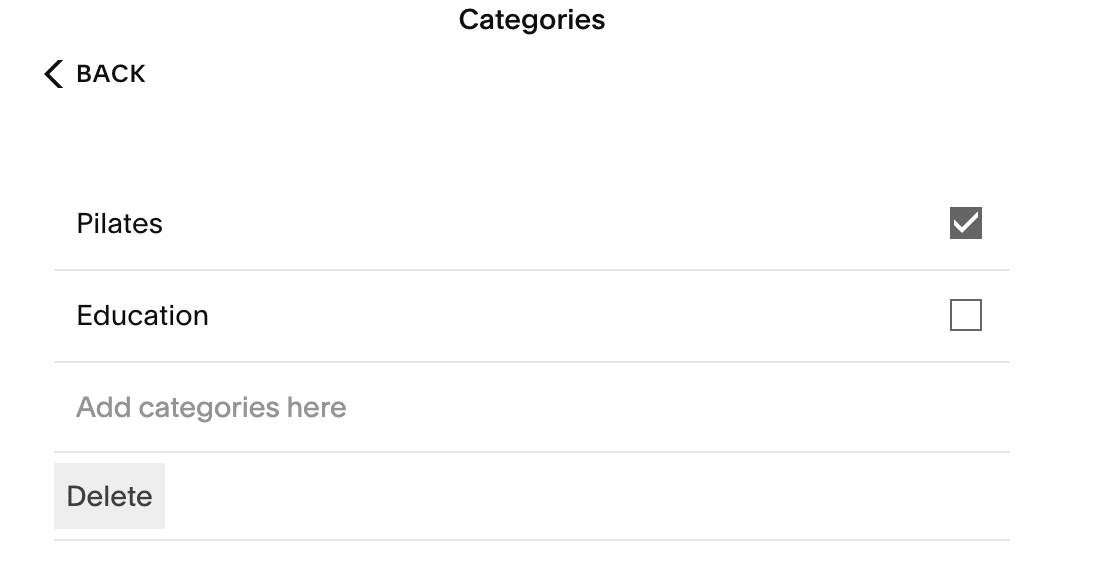
Organize with Categories & Tags:
You can access your categories and tags under the Options tab in your blog settings.
Categories are broad topics you cover (e.g., “Design Tips”, “Studio News”).
Tags are more specific labels for each post (e.g., “branding”, “photography-workflow”).
Adding categories and tags helps your readers find relevant content and helps site navigation.
Up Next…
In the next lesson we’re going to walk through how to publish, schedule and delete blog posts!