Launching Your Site

Your domain is your website’s address on the internet. It’s what people type into their browser or search for to find your site (example: www.yourbrand.com).
When you create a Squarespace site, Squarespace automatically gives you a built-in address that ends in .squarespace.com. This works as a temporary address while you’re building your site and allows you to preview your website, but I highly recommend using a custom domain to help make your site look more professional and establish more trust with your visitors.
In this guide, we’ll walk through the different ways you can connect a domain to your Squarespace site, including:
Buying a domain directly in Squarespace.
Connecting a domain you already own.
Transfering a third-party domain into Squarespace.
What to Look For When Purchasing a Domain:
When you’re choosing and buying a domain, there are some key things that you’ll want to keep in mind to make sure you choose a domain that fits your needs. Some things to consider are:
Domain Extension:
Common extensions like .com or .ca are often favored because they’re familiar.
Other reputable options include .net, .co, .org, and niche extensions like .shop, .studio, .design depending on your brand.
Some extensions are more expensive or restricted (e.g., .club, .io)
Renewal Pricing:
Some registrars offer a cheap first year but higher renewal costs, so always check what you’ll pay longterm, not just upfront.
Auto-Renew & Privacy Protection:
Auto-renew helps prevent losing your domain accidentally.
Privacy protection (WHOIS privacy) hides your personal contact details from public lookup. Most providers offer this free, but some charge for it.
Registrar Reputation:
Choose a known company with a solid reputation for uptime and support. Examples:
GoDaddy
Namecheap
Google Domains, etc.
Check reviews for customer service and renewal transparency.
Brand Clarity:
Your domain should be easy to spell, short (if possible), and clearly tied to your business or brand name.
Avoid hyphens, long strings of random numbers, or confusing spelling.
Consistency Across Platforms:
Check availability on social platforms (Instagram, TikTok, Pinterest, etc.) so your domain and social handles can match if possible.
Domain History (if used):
If you’re buying a previously owned domain, check if it has a clean history (no spam or penalization) using tools like archive.org.
Purchasing a Domain in Squarespace:
If you buy a custom domain directly through your Squarespace it will automatically connected to your website, which makes it a quick and easy option for adding a custom domain, however it Squarespace domains are often more expensive than other domain options and cost around $20-30 USD per year.
Pros:Automatic setup: the domain is already connected to your site with minimal steps.
No DNS editing: you don’t have to tinker with records or settings.
Everything in one place: billing, renewals, and site management all happen in Squarespace.
Renewal reminders and privacy protection available within the same dashboard.
Cons:Higher price range: domains in Squarespace tend to be around $20–$30 USD per year, which can be a bit more than some third-party registrars.
You’re tied to one ecosystem: if you ever move platforms, transferring the domain can take a few more steps.
Best if: your goal is to keep everything in one place and the idea of having to connect a domain manually feels too overwhelming.
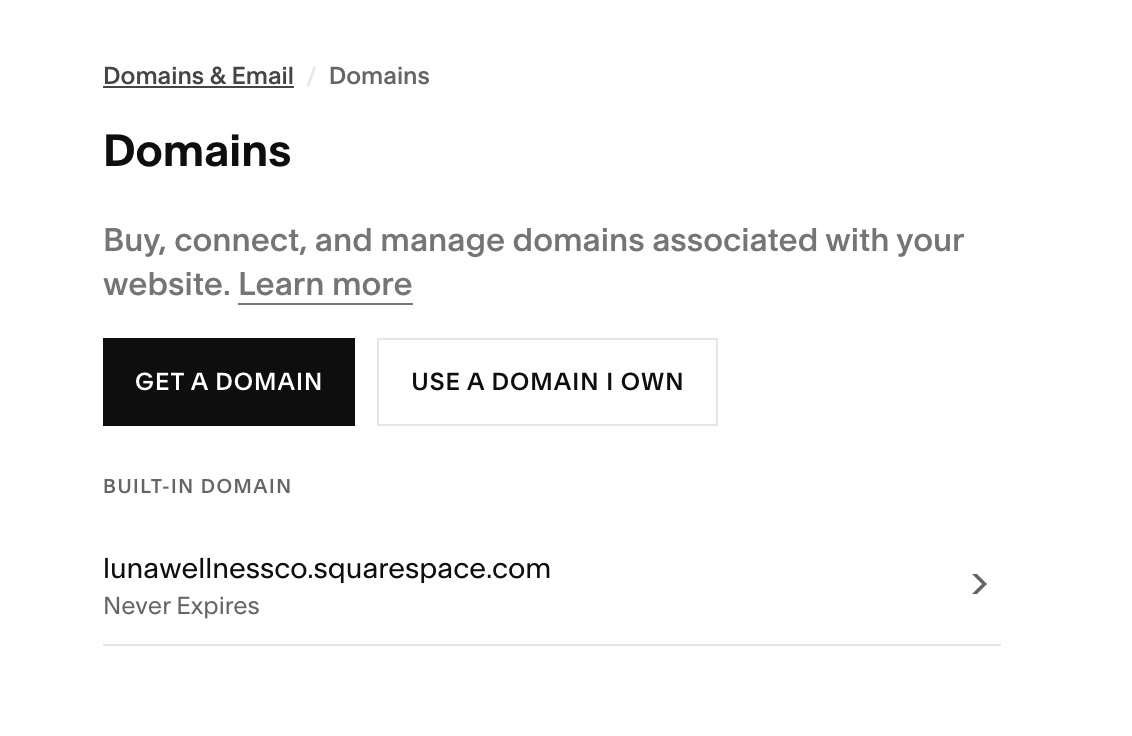
How to Purchase a Domain in Squarespace:
From your Squarespace dashboard, go to Settings → Domains & Email.
Click Get a Domain.
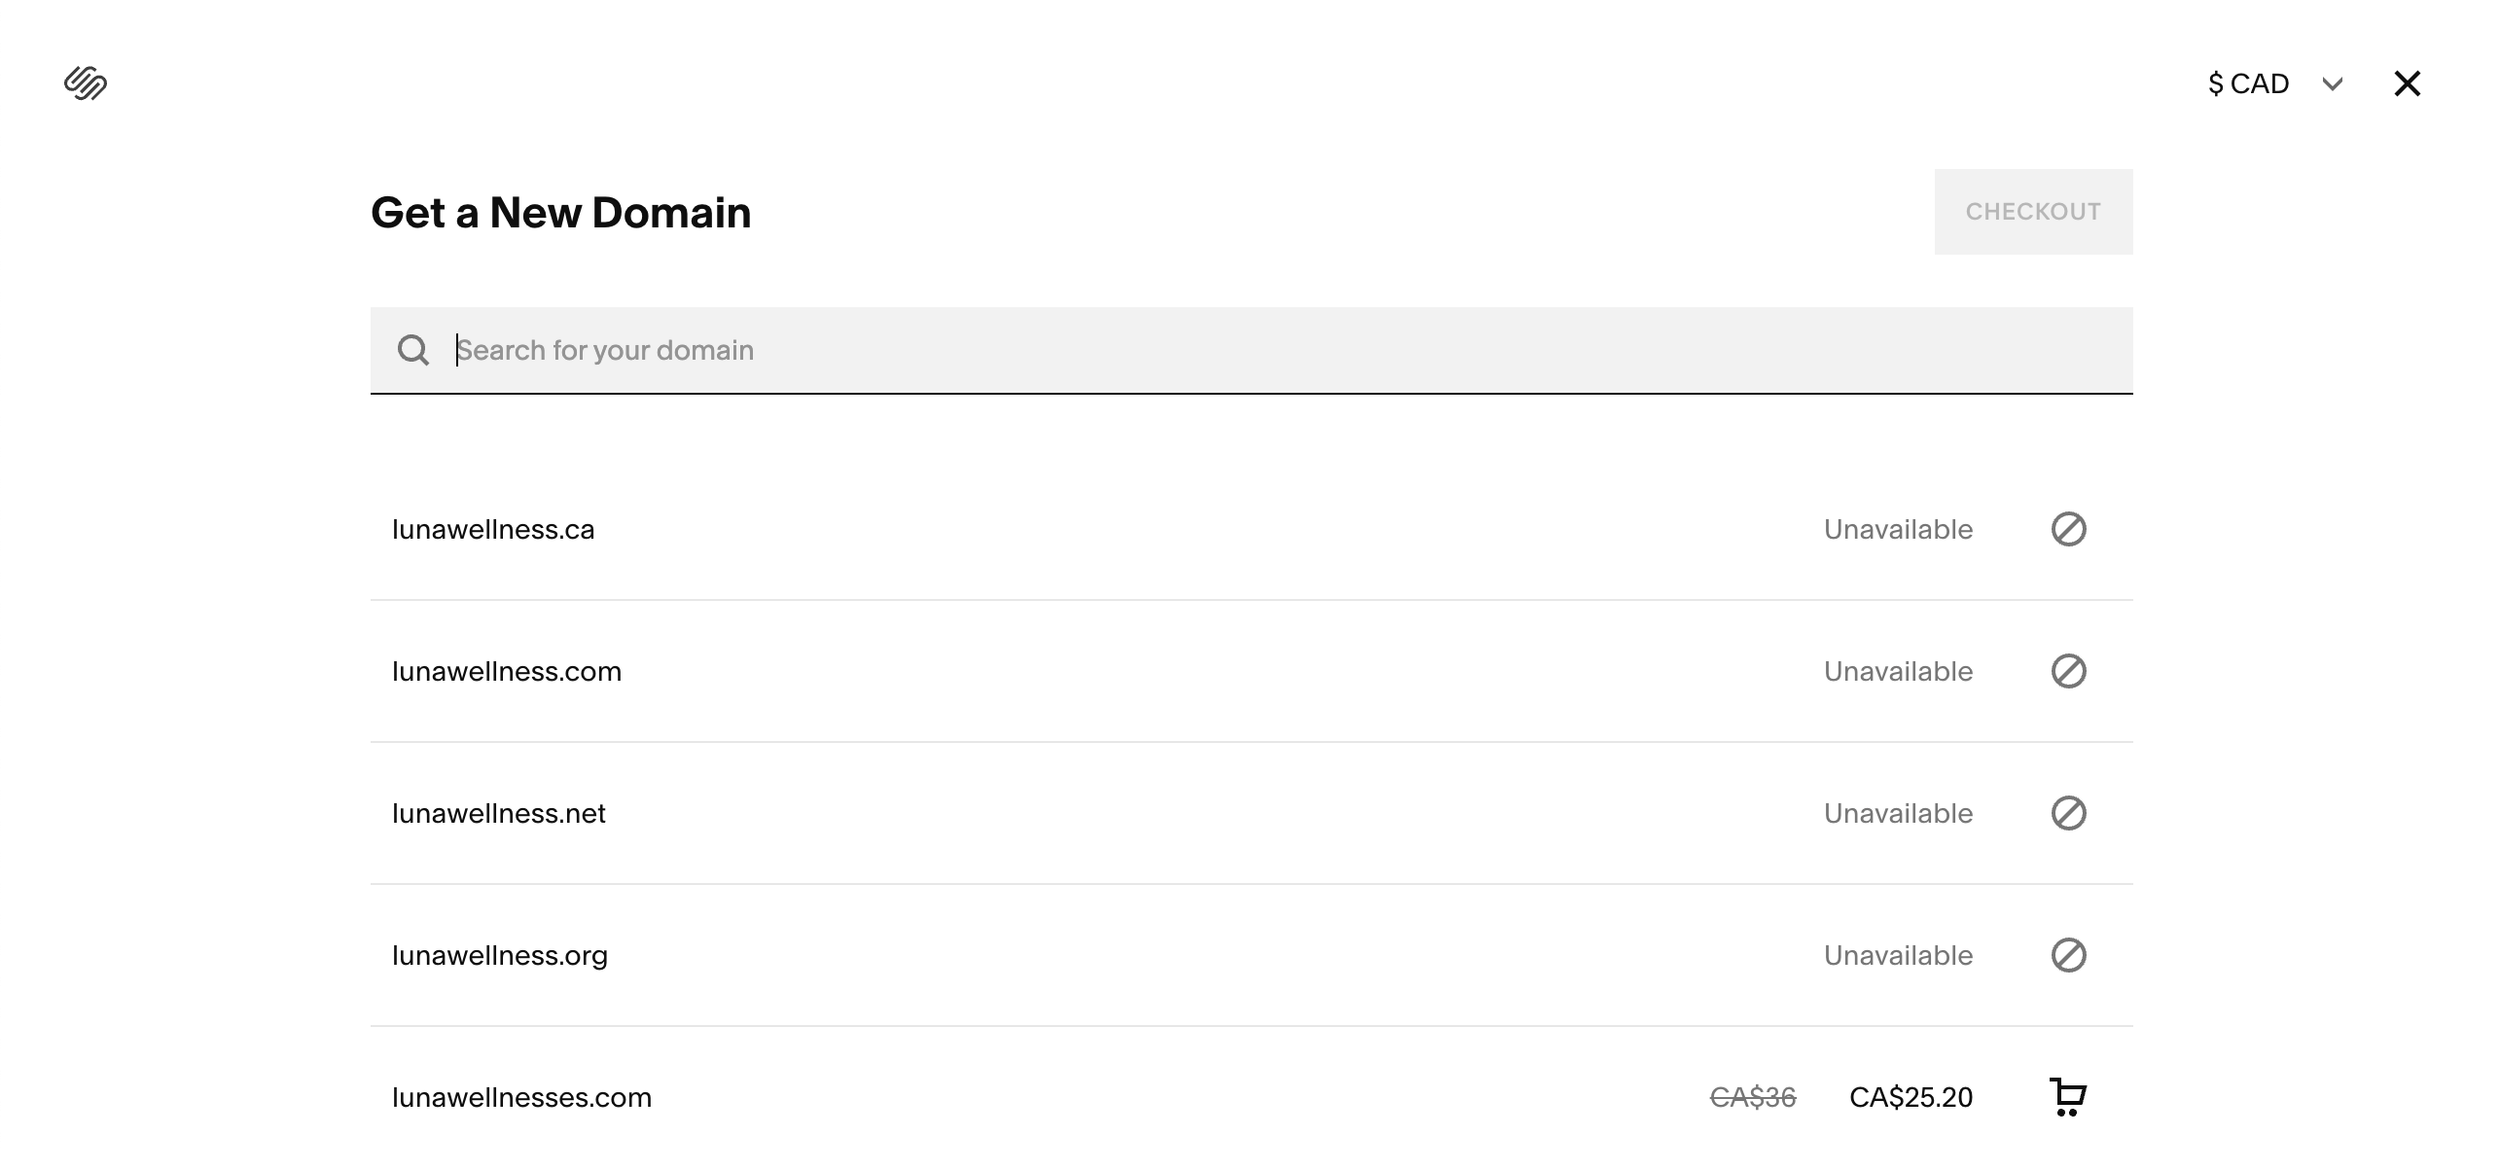
Enter the domain name you want (e.g., yourbrand.com) and search availability.
When you find one you like, click to add it to your cart and checkout.
Complete the purchase with your billing information.
Using a Domain From a Third-Party:
If you already bought a domain from a provider like GoDaddy, Name.com, or another registrar, you don’t have to transfer it to Squarespace to use it. All you have to do is connect it so it points to your Squarespace site.
Pros:Potentially lower pricing or promotions: some registrars offer cheaper first-year deals.
Flexibility: you can use the domain with any platform you want (not just Squarespace).
Registrar features: some providers offer advanced DNS tools, email hosting bundles or domain management perks.
Cons:Requires DNS editing: you’ll need to copy Squarespace’s DNS records into your registrar’s settings.
More moving parts: you manage renewals and billing in a different system than your website.
Potential delay if records aren’t entered correctly: a mis-typed DNS record can slow down connection if you’re in a rush to get your site up and running.
Best if: you want to spend less on your domain, already own the domain, or want more advanced domain options.
How to Purchase a Domain in Squarespace:
Helpful Tip: I recommend viewing Squarespace’s article on this, as has a detailed video and walkthrough on how to easily connect your third party domain.
In your site dashboard, go to Settings → Domains & Emails.
Click Use a Domain I Own.
Enter the full domain name (e.g., yourbrand.com).
Choose Connect Domain.
In the domain panel that opens, Squarespace will show you the DNS settings you need to add at your domain provider. This includes several A records and CNAME records that tell the internet to send traffic to your Squarespace site.
Open your domain provider’s DNS editor in another tab and copy those records exactly into your domain’s DNS settings.
Return to Squarespace and click Refresh to check your domain status.
Once records are correctly entered, your domain will begin linking to your Squarespace site (propagation can take up to 24-48 hours).
Transferring a Domain to Squarespace:
Transferring a domain means moving the domain’s registration from another registrar (like GoDaddy or Namecheap) into Squarespace. After transfer, Squarespace manages renewals and DNS for you.
Pros:Centralized management: once transferred, the domain and site are all in one place.
Squarespace handles DNS and renewals automatically.
Transfers typically carry a 1-year renewal added to your domain registration.
Cons:Transfer timeframe:depending on the provider, it can take several days to complete.
You must unlock and authorize the transfer with your current registrar, which is an extra step.
Not always cheaper: you still pay the transfer/renewal cost, which may be similar to buying fresh.
Best if: you already own a domain but are looking to simplify and want your domain and website all in one place for easier management and renewal.
How Transfer a Domain to Squarespace:
Go to Settings → Domains & Emails
Click Use a Domain I Own.
Enter your domain and select Transfer instead of Connect.
Follow the prompts. You may need:
A transfer authorization code from your current registrar
To unlock the domain at that registrar
To confirm transfer via email
Once the transfer begins, it can take several days to complete, but when it’s finished, your domain and website are all managed in one place inside Squarespace.