Intro to Your Template

If you don’t already have a Squarespace account, you can create one for free while you’re waiting for access to your template. Doing this ahead of time just saves you a bit of time and makes it faster to jump into setting up your new site when it’s ready ☺
Note: You won’t need to enter any payment information or choose a hosting plan to create your account. I recommend waiting to select a plan until your site is ready to launch. We’ll cover how to choose the right hosting option for your needs later in the course.
Creating a Squarespace Account:
Step One: Go to squarespace.com
Step Two: Click the “Get Started” button in the top right of the screen

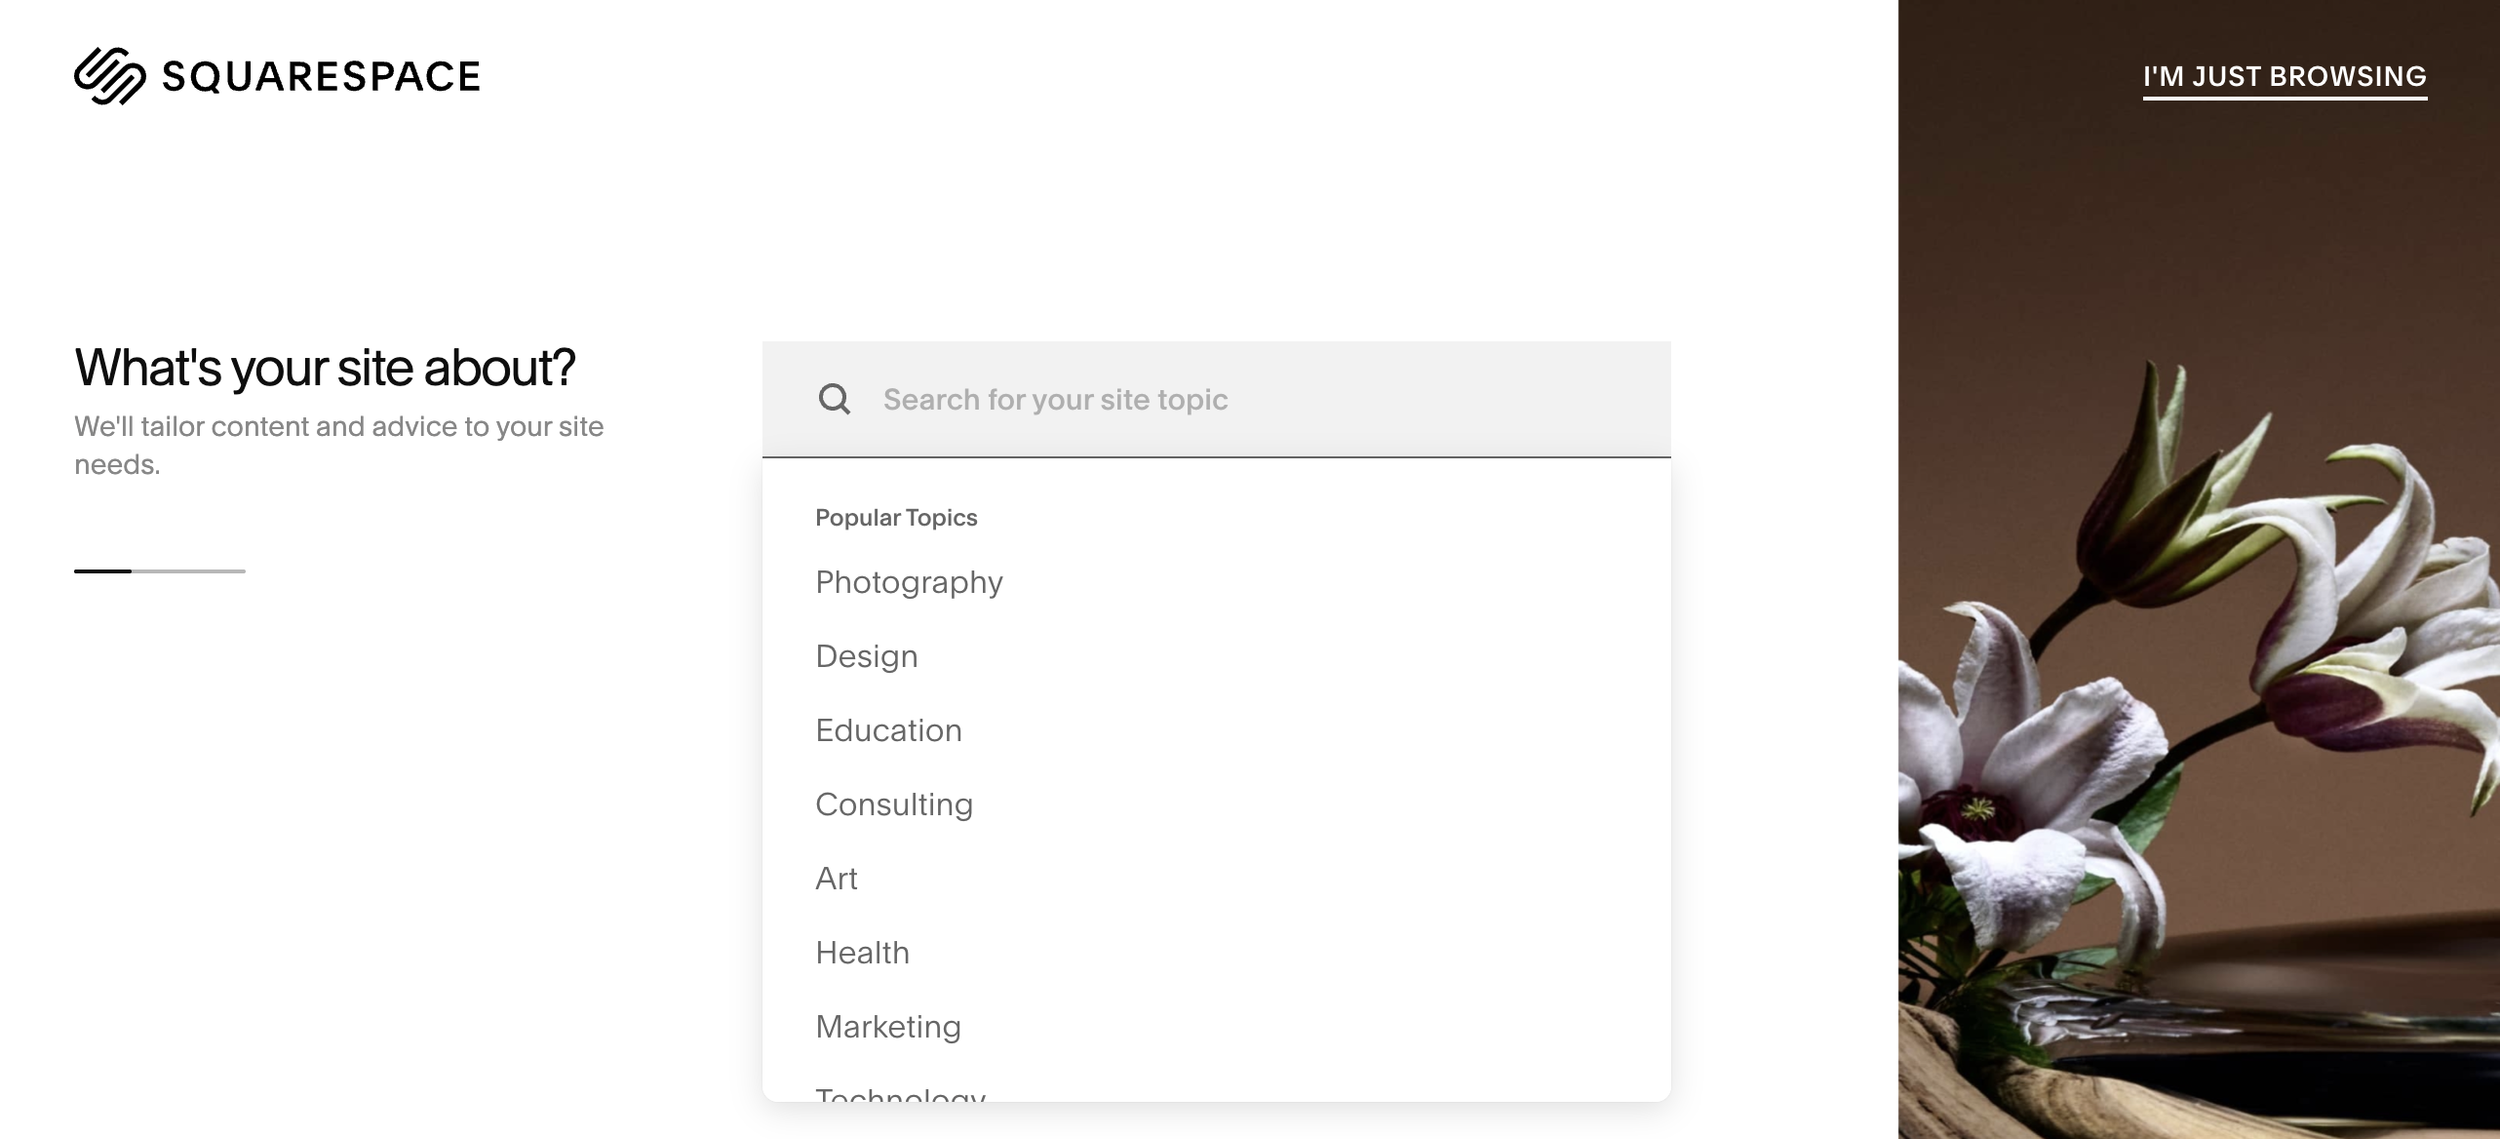
Step Three: Squarespace will ask you tell it what your site is about. Skip this step by choosing “I’m Just Browsing” in the top right corner.
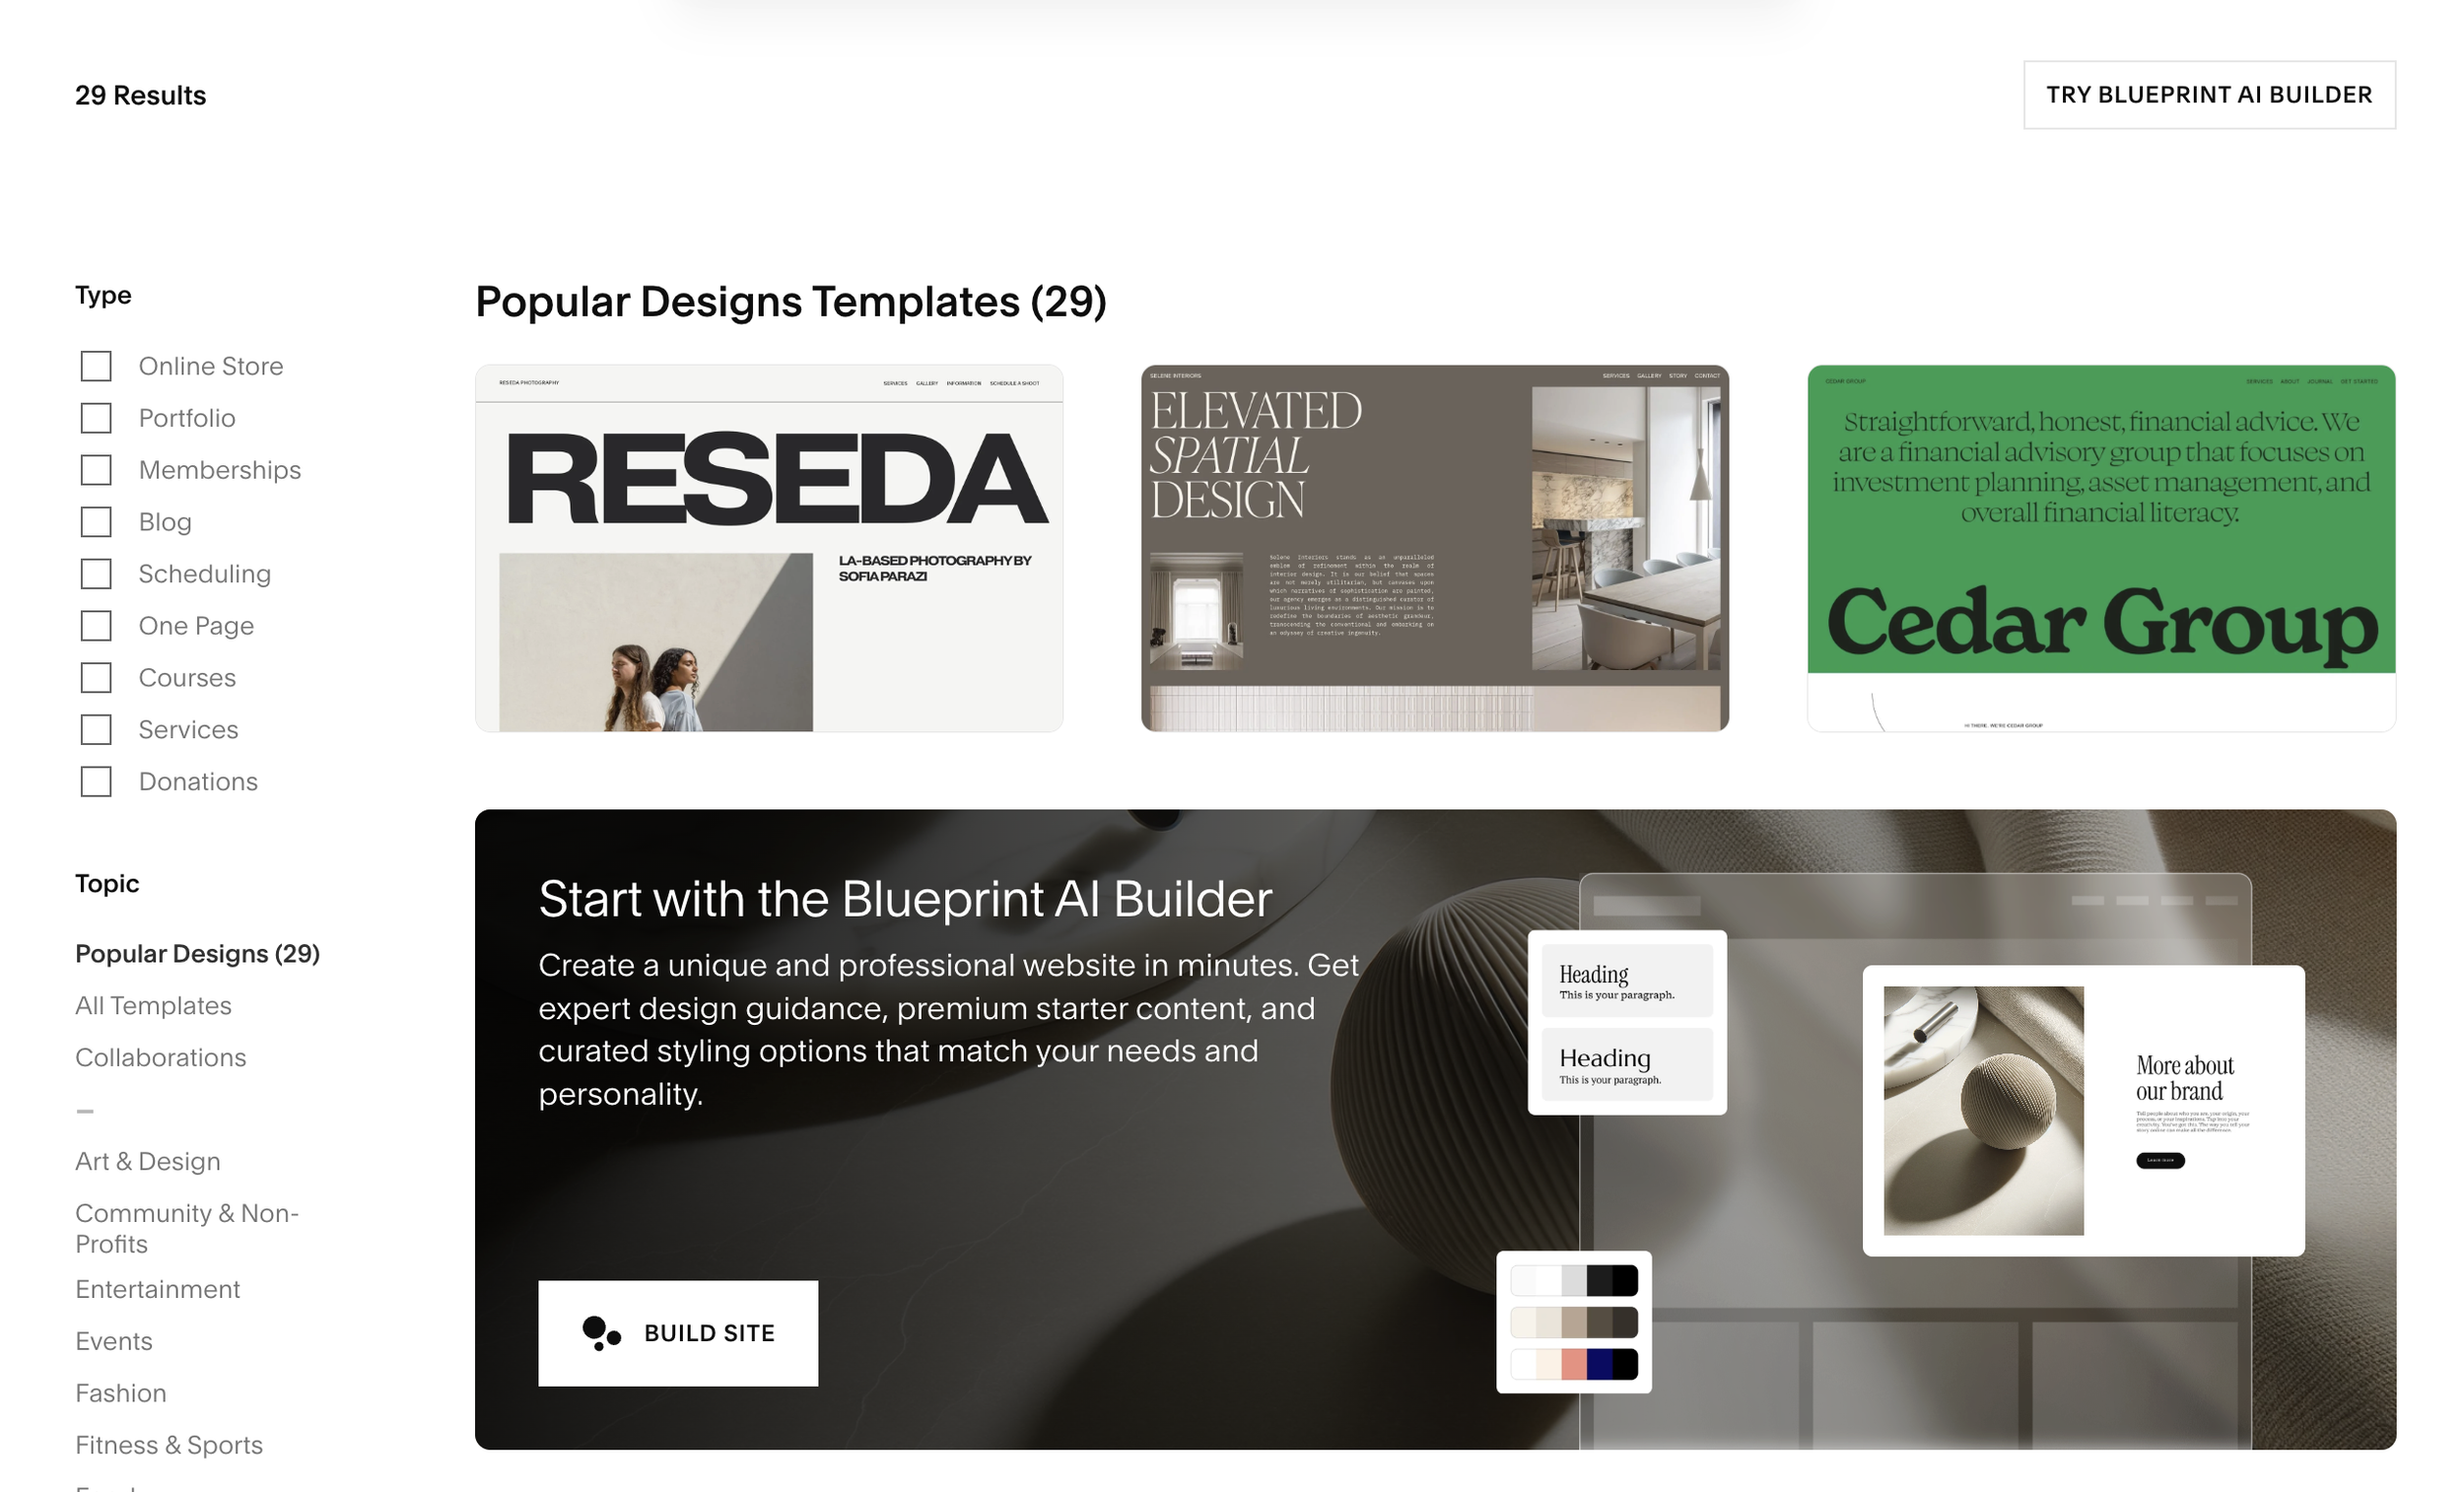
Step Four: Select any template (Squarespace requires you to choose a template before it takes you to account creation, but don’t worry about which one you choose, you won’t have to use it. Your custom template is already on its way from me!)
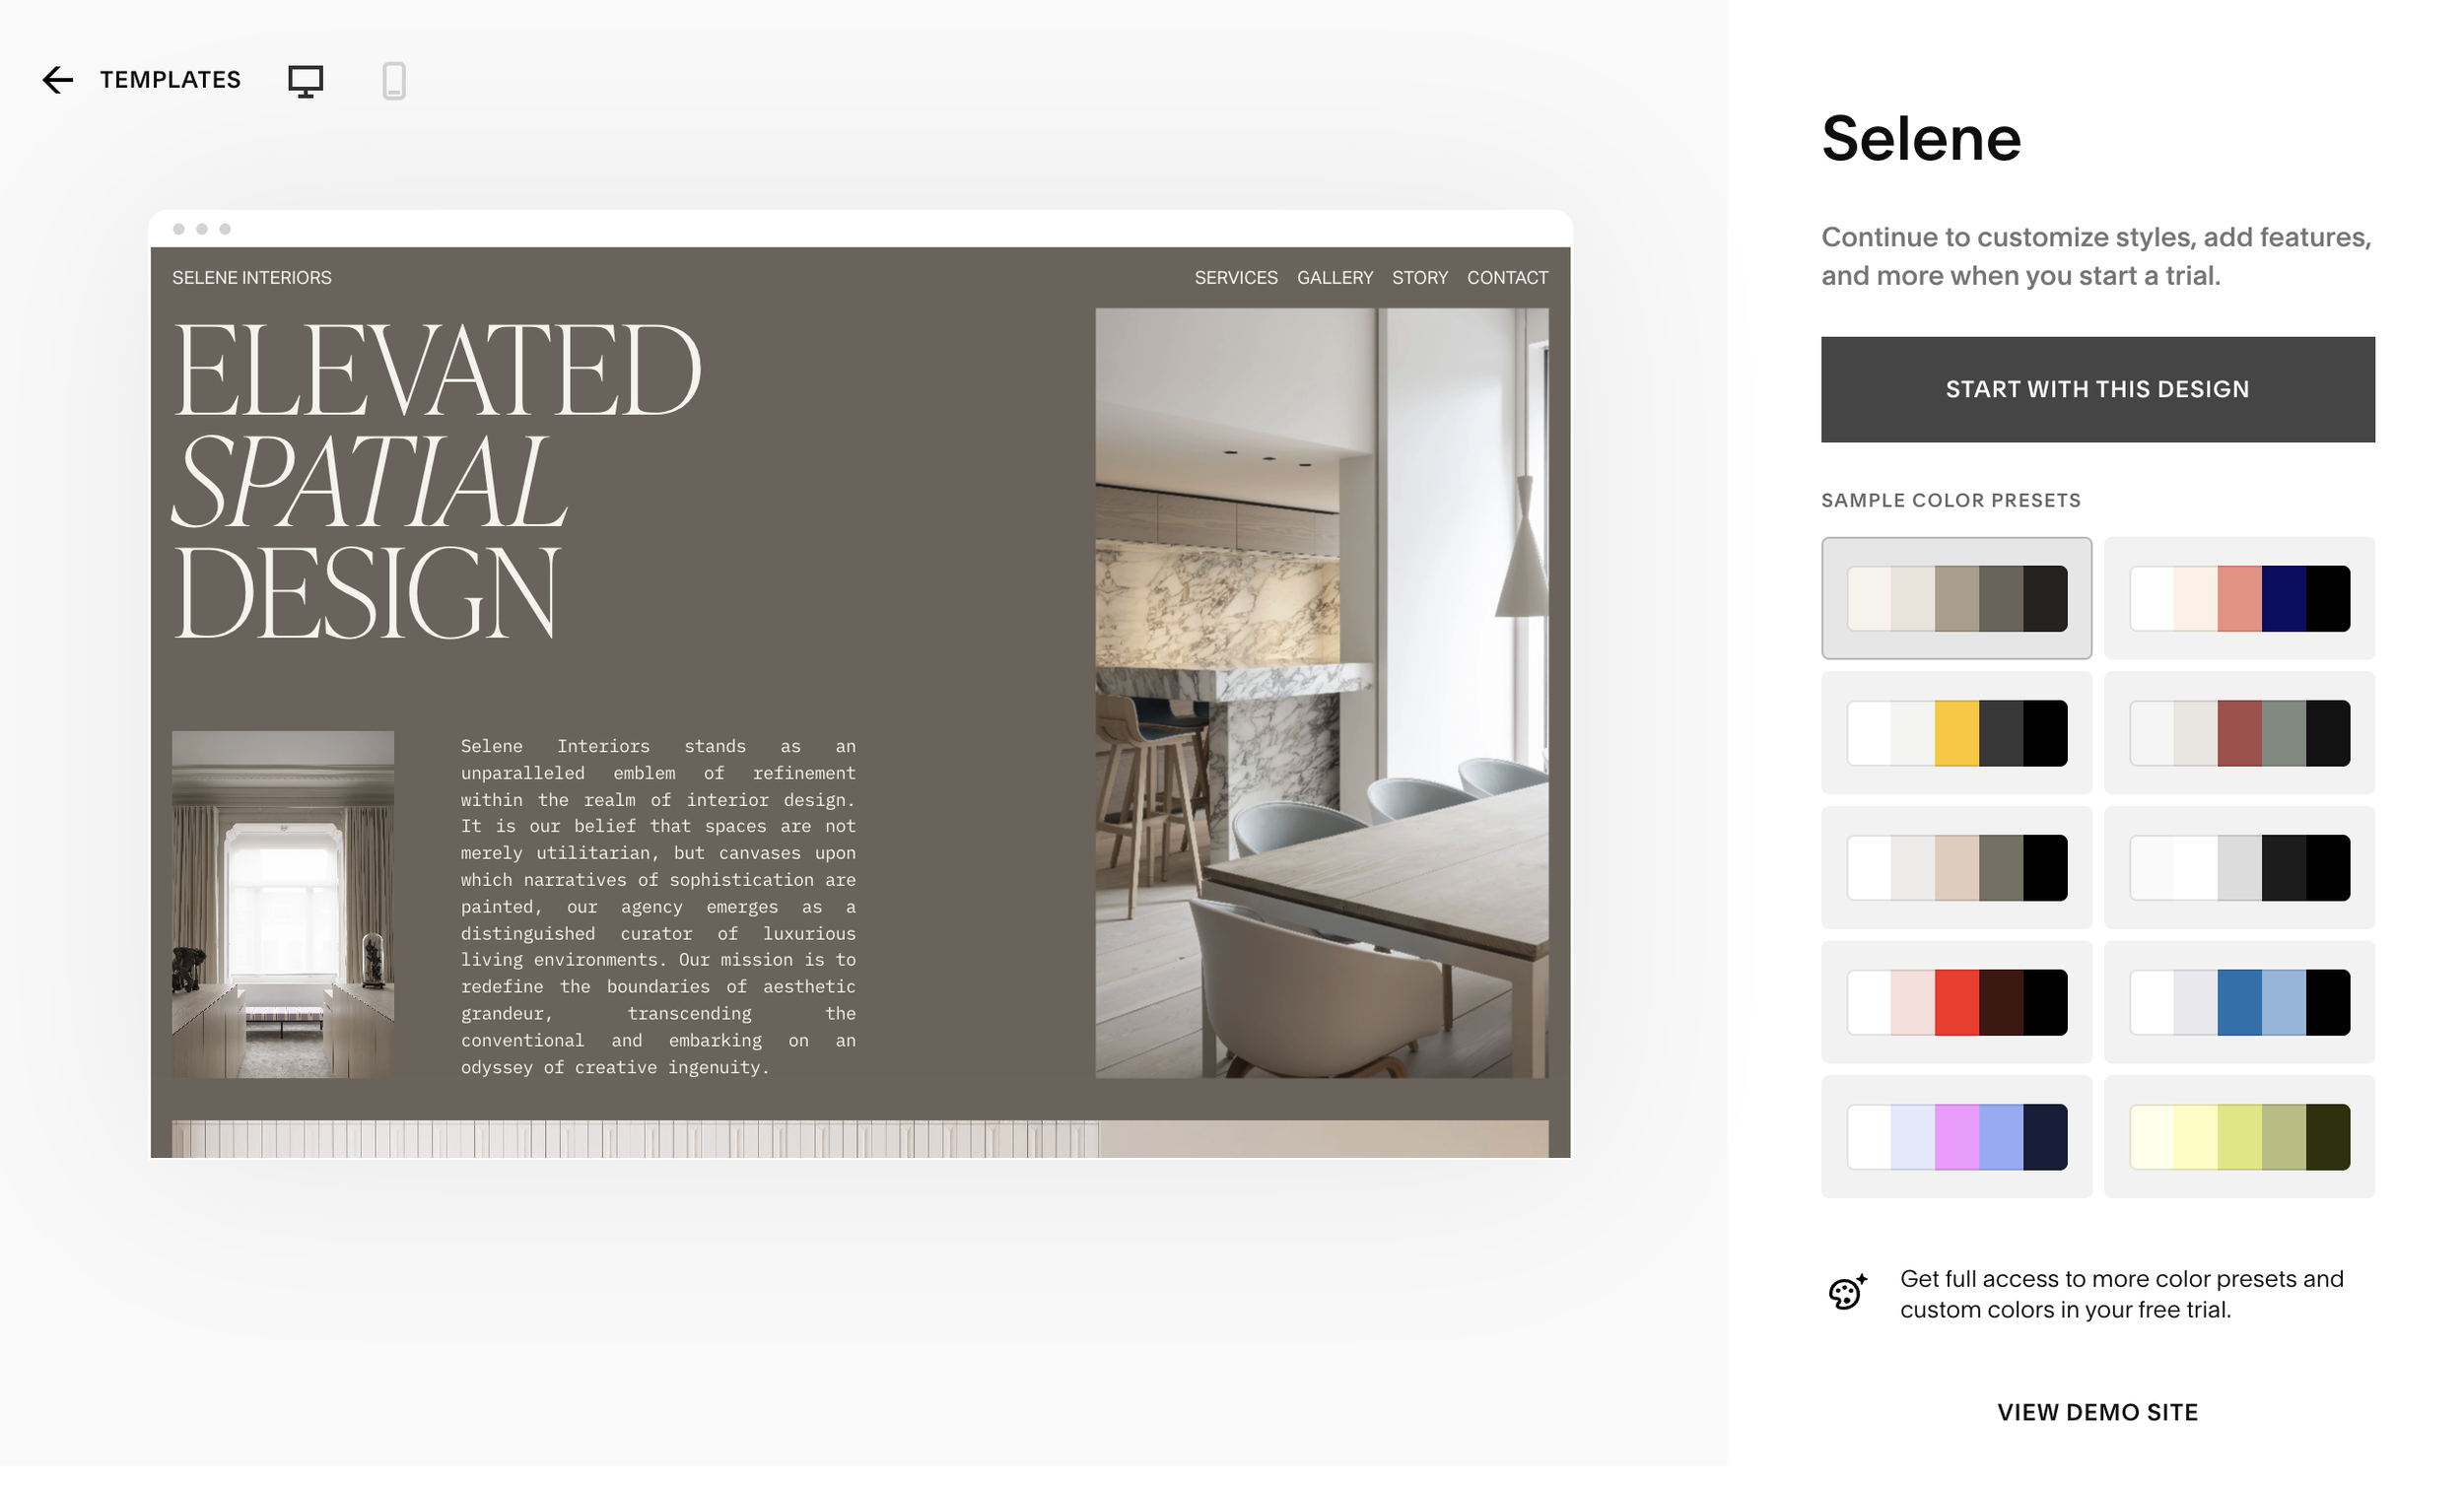
Step Five: Squarespace will give you a preview of whatever template you choose as well as sample color presets to choose. You can leave everything as is and click the “Start with This Design” button.
Step Five: Squarespace will give you a preview of whatever template you choose as well as sample color presets to choose. You can leave everything as is and click the “Start with This Design” button.
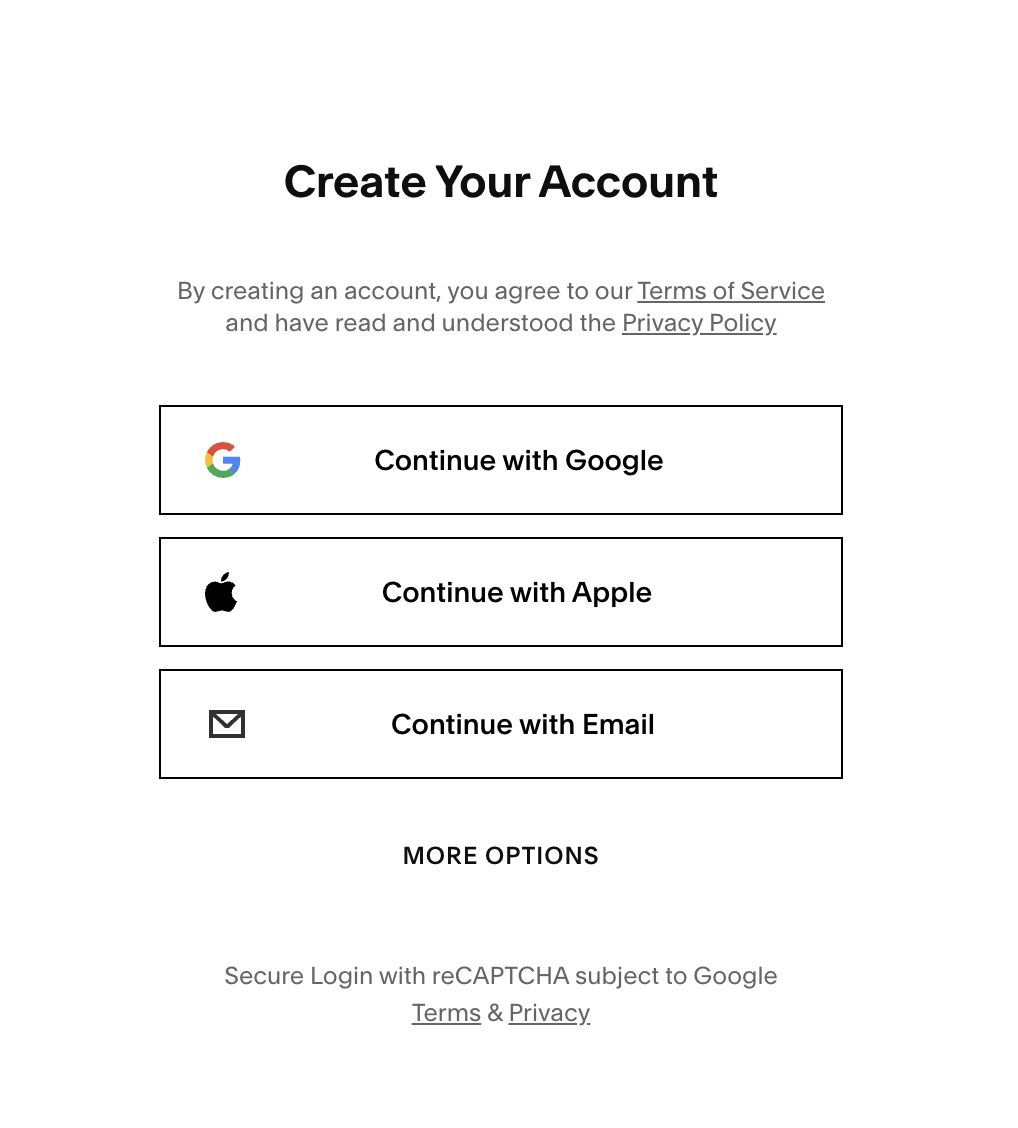
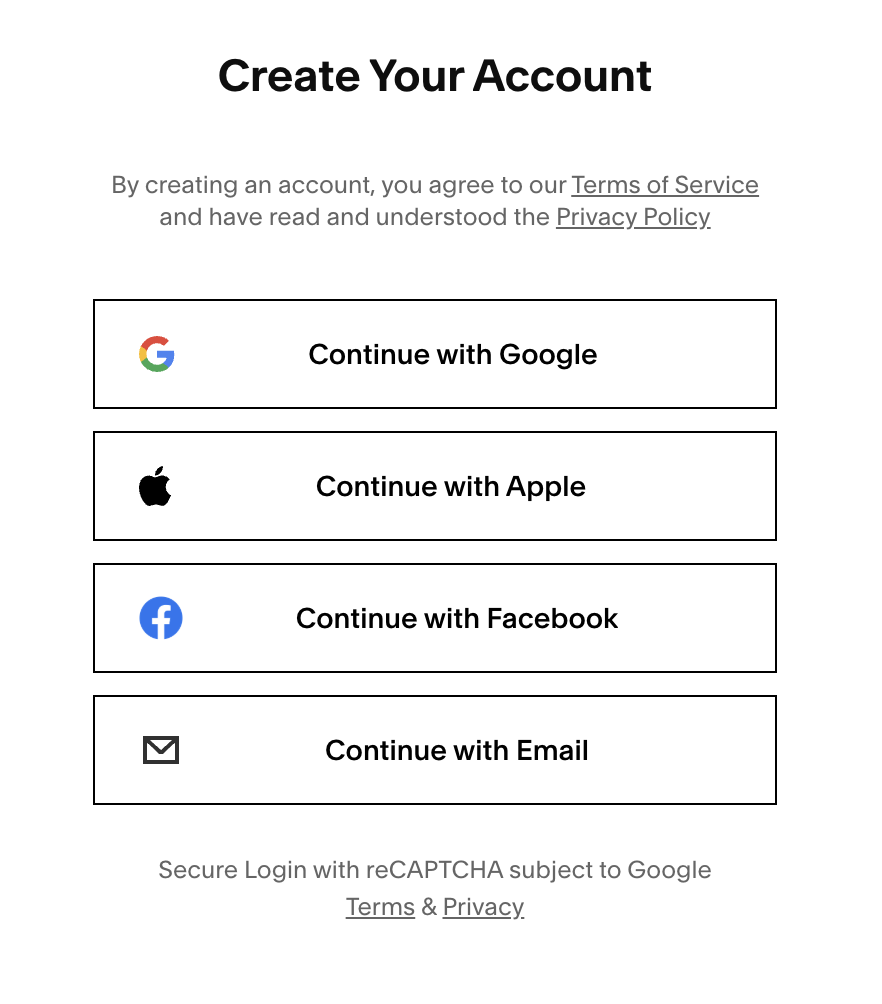
Step Six: You’ll now be prompted to create your account. You can sign up using:
Google
Facebook
Apple
Email
Important Note: if you are creating your Squarespace account after purchasing your template, please make sure to use the same email you submitted when buying your template.
Your Squarespace Account is All Set!
You’re now ready to accept access to your new template. In the next lesson I’ll walk you through how to:
Accept your template invite
Add your new site to your dashboard
Navigate your Squarespace Dashboard