Using Sections
In Squarespace 7.1 every page is built using sections. Think of sections as building blocks that stack vertically down your page, each one serving a different purpose (like an intro banner, service list, testimonials, or contact form).
Each section can have its own layout, background color or image, and unique set of blocks (like text, images, buttons, etc.). This allows you to create beautifully organized, scrollable pages.
How to Edit a Section:
Hover over the section and click Edit Section in the top-left corner.
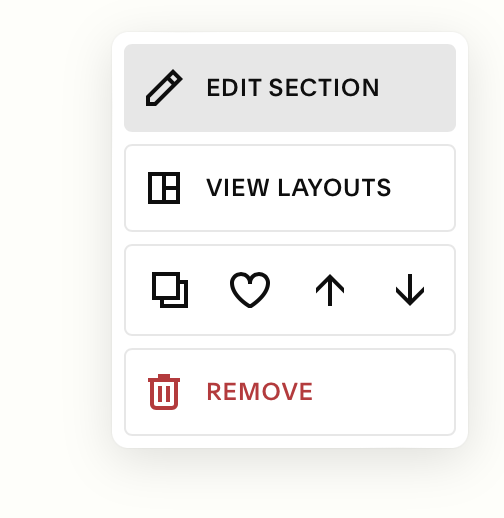
From here, you can:
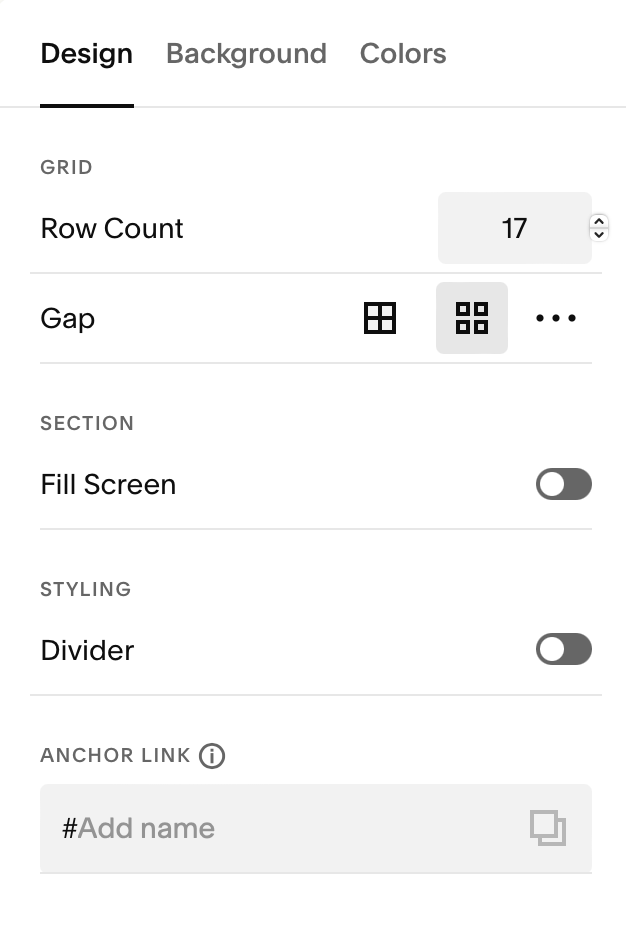
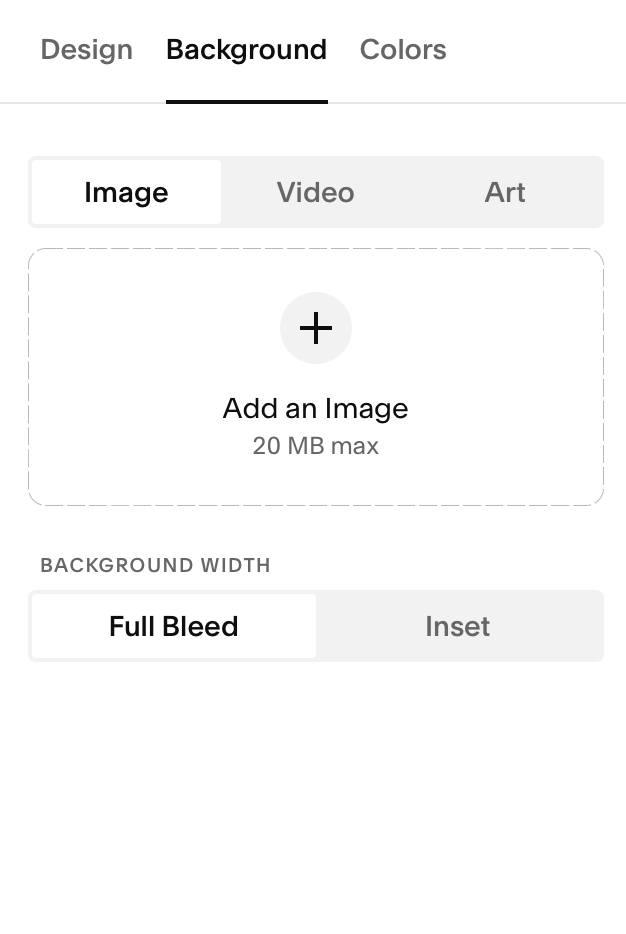
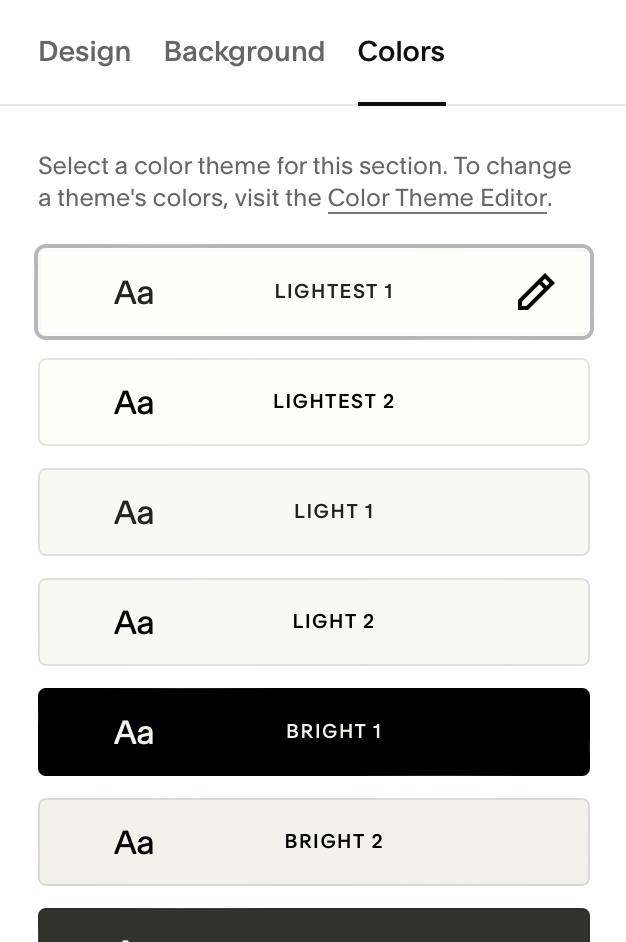
Change background colors or add images/videos
Adjust spacing (padding above and below)
Set section width (inset or full-bleed)
Toggle on or off features like section dividers
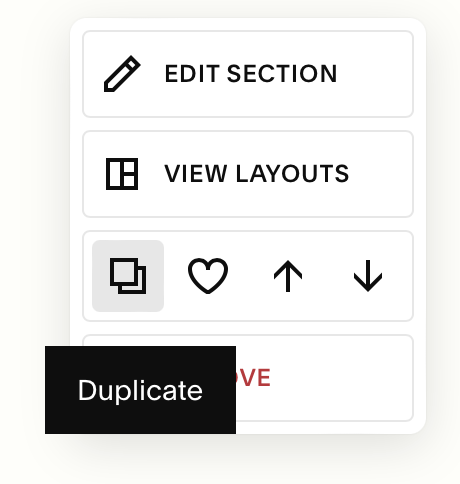
To Duplicate a Section:
While in Edit mode, hover over the section.
Click the duplicate icon (two overlapping squares) in the section menu.
A full copy of the section will appear directly below the original.
This will insert an identical copy of your section directly beneath it, which you can then customize or move.
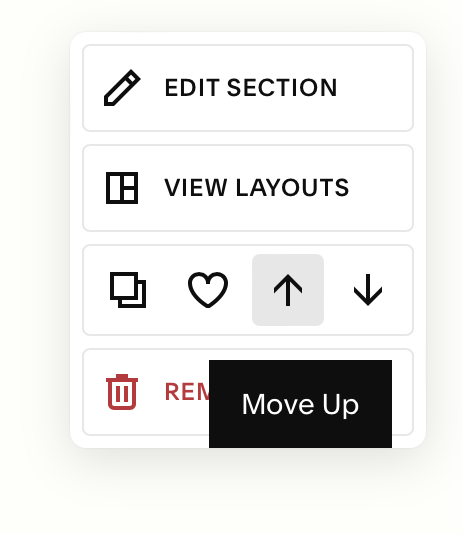
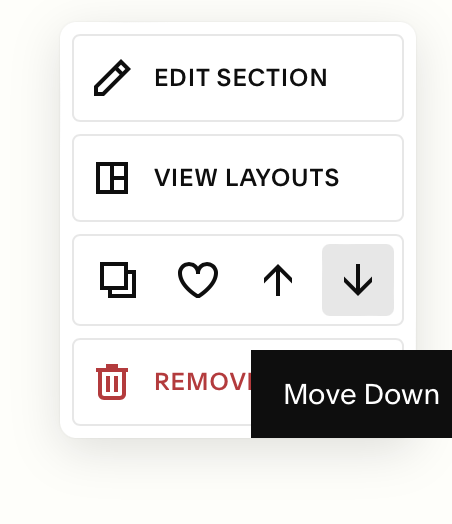
To Move a Section Up or Down the Page:
Use the arrows in the third row or your edit menu to move a section up or down the page.
This is a great way to easily test different layouts or move the existing sections of your template to mix and match and make it uniquely your own!
Important to Note:
Squarespace does NOT autosave changes (a pain, I know). After editing, always click the Save button in the upper-left corner of the screen to preserve your work.
Up Next…
In the rest of this chapter, we’ll cover the following:
Adding & Deleting Sections
Saving Sections
Changing Colors on your Sections